When I started working with glass at home, I didn't realise how much 'scrap' glass there would be. But if you think about it, glass isn't like pastry - you can't roll up the offcuts and use them.
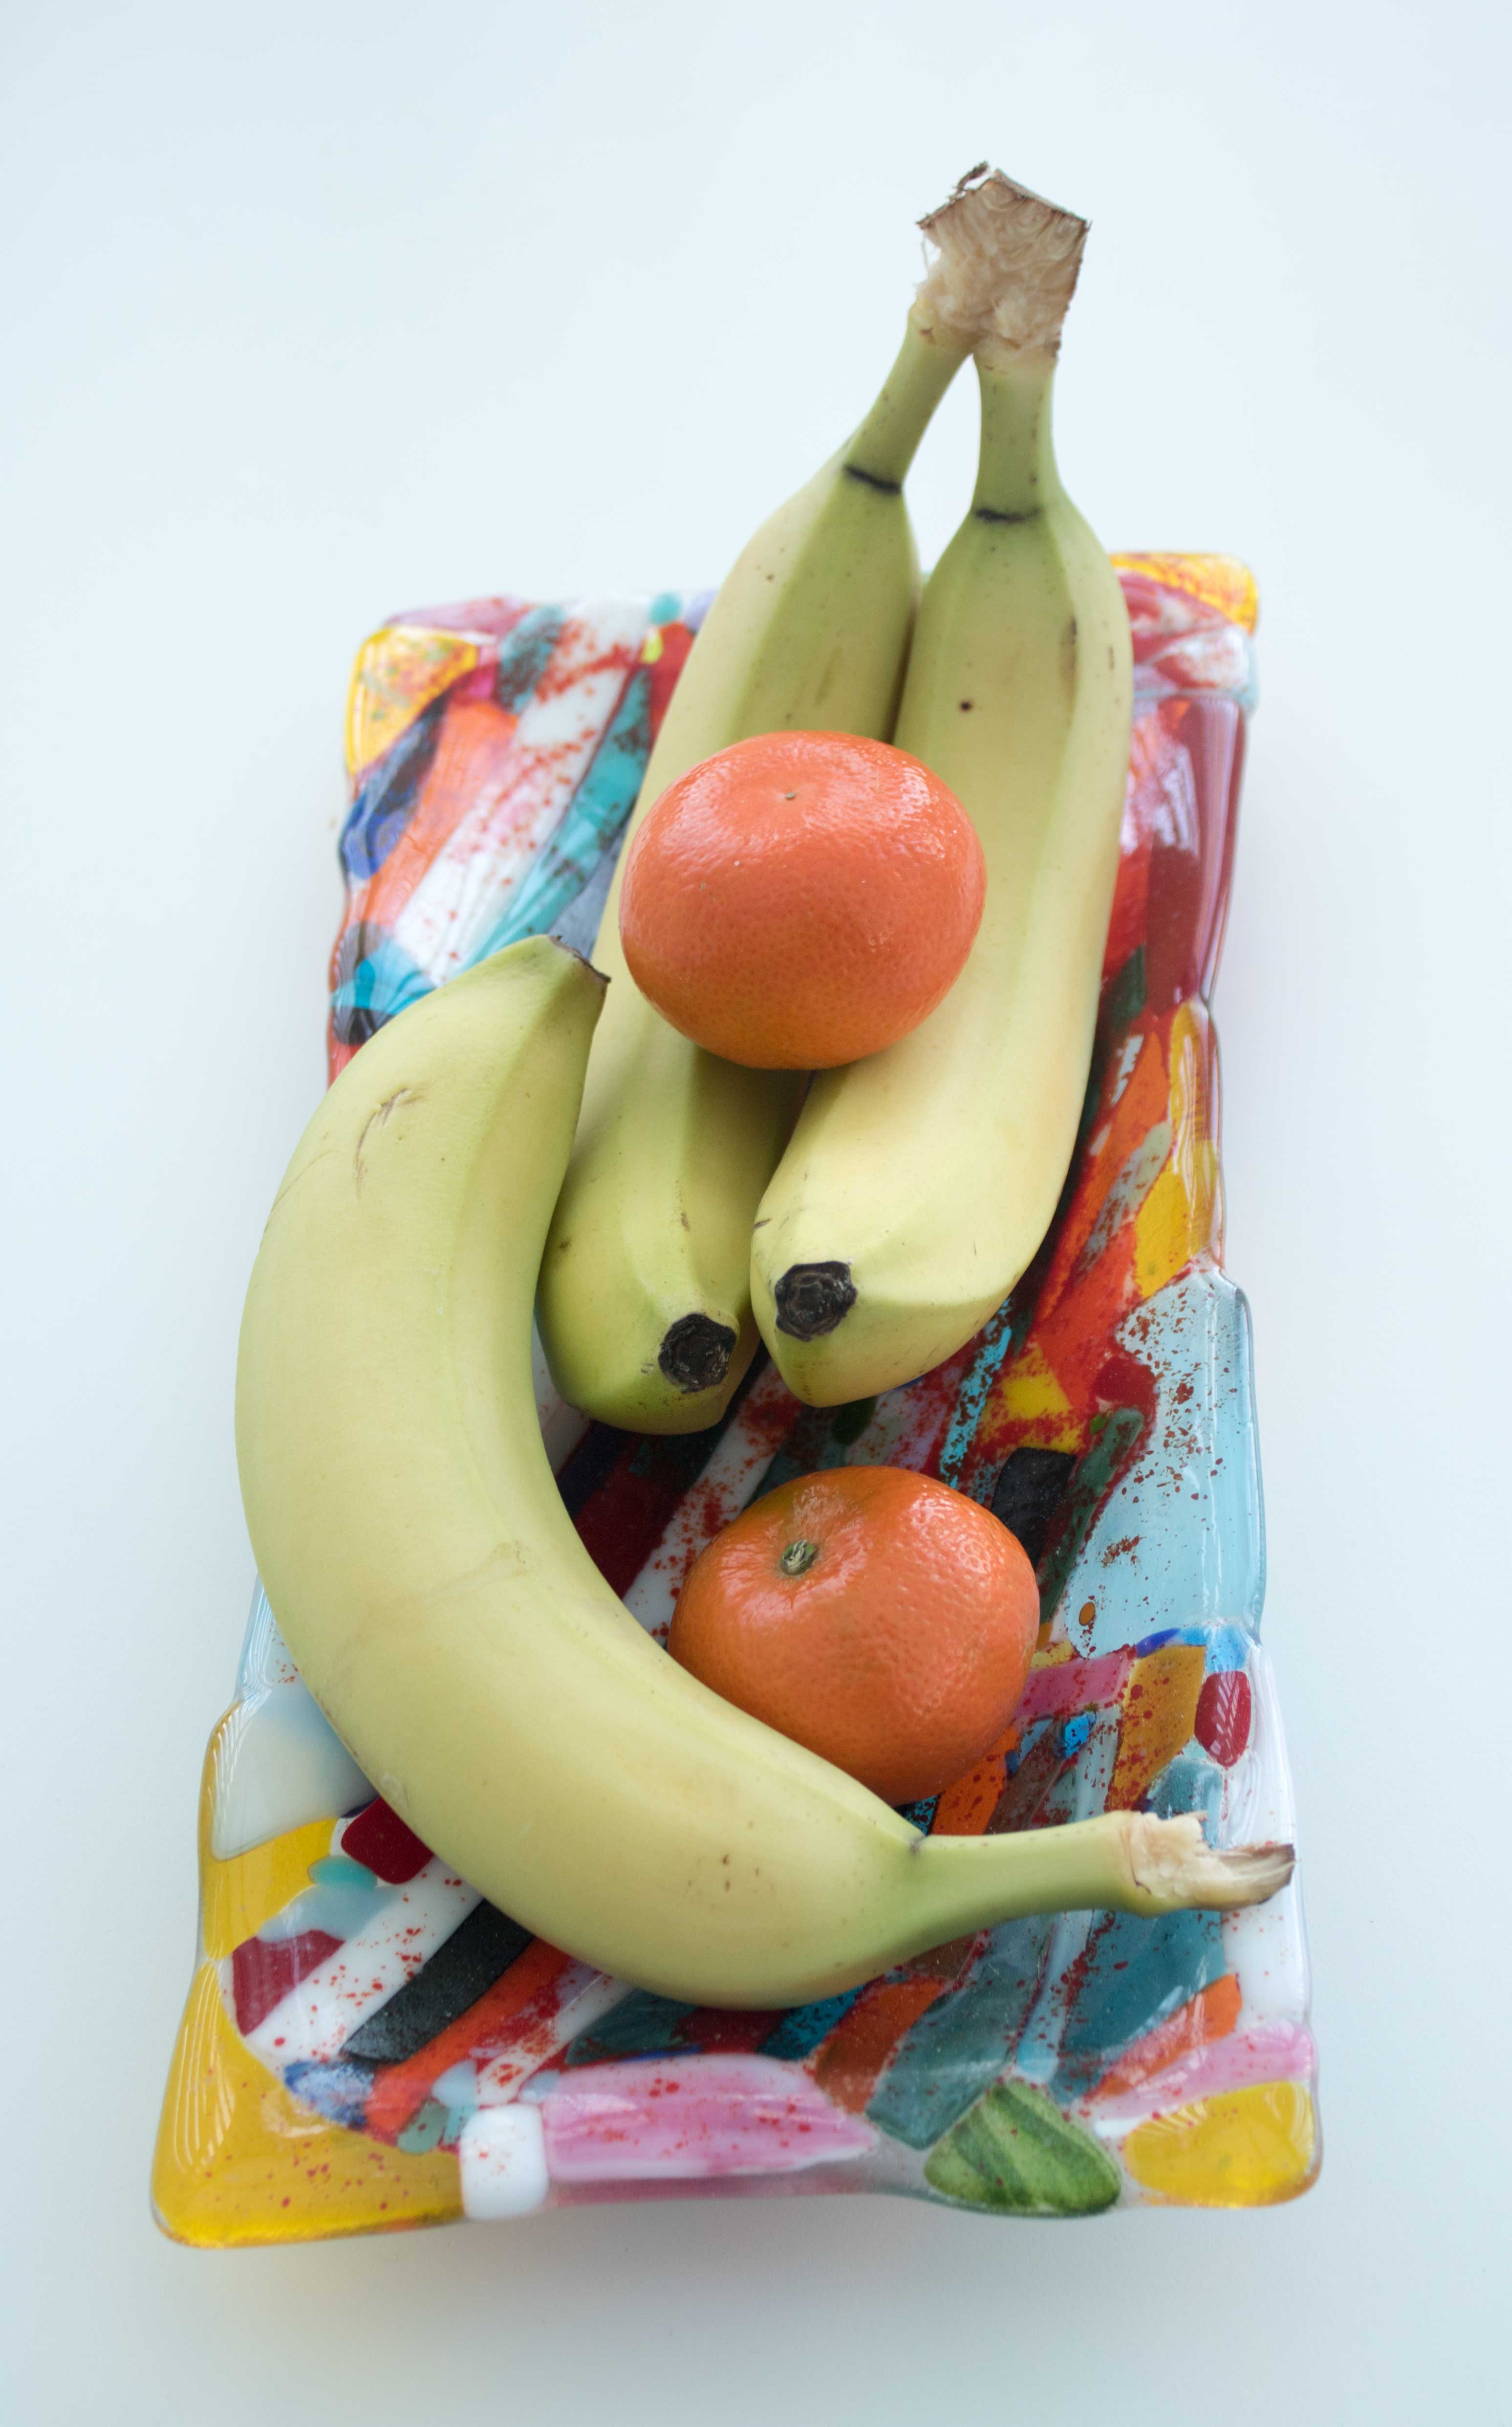
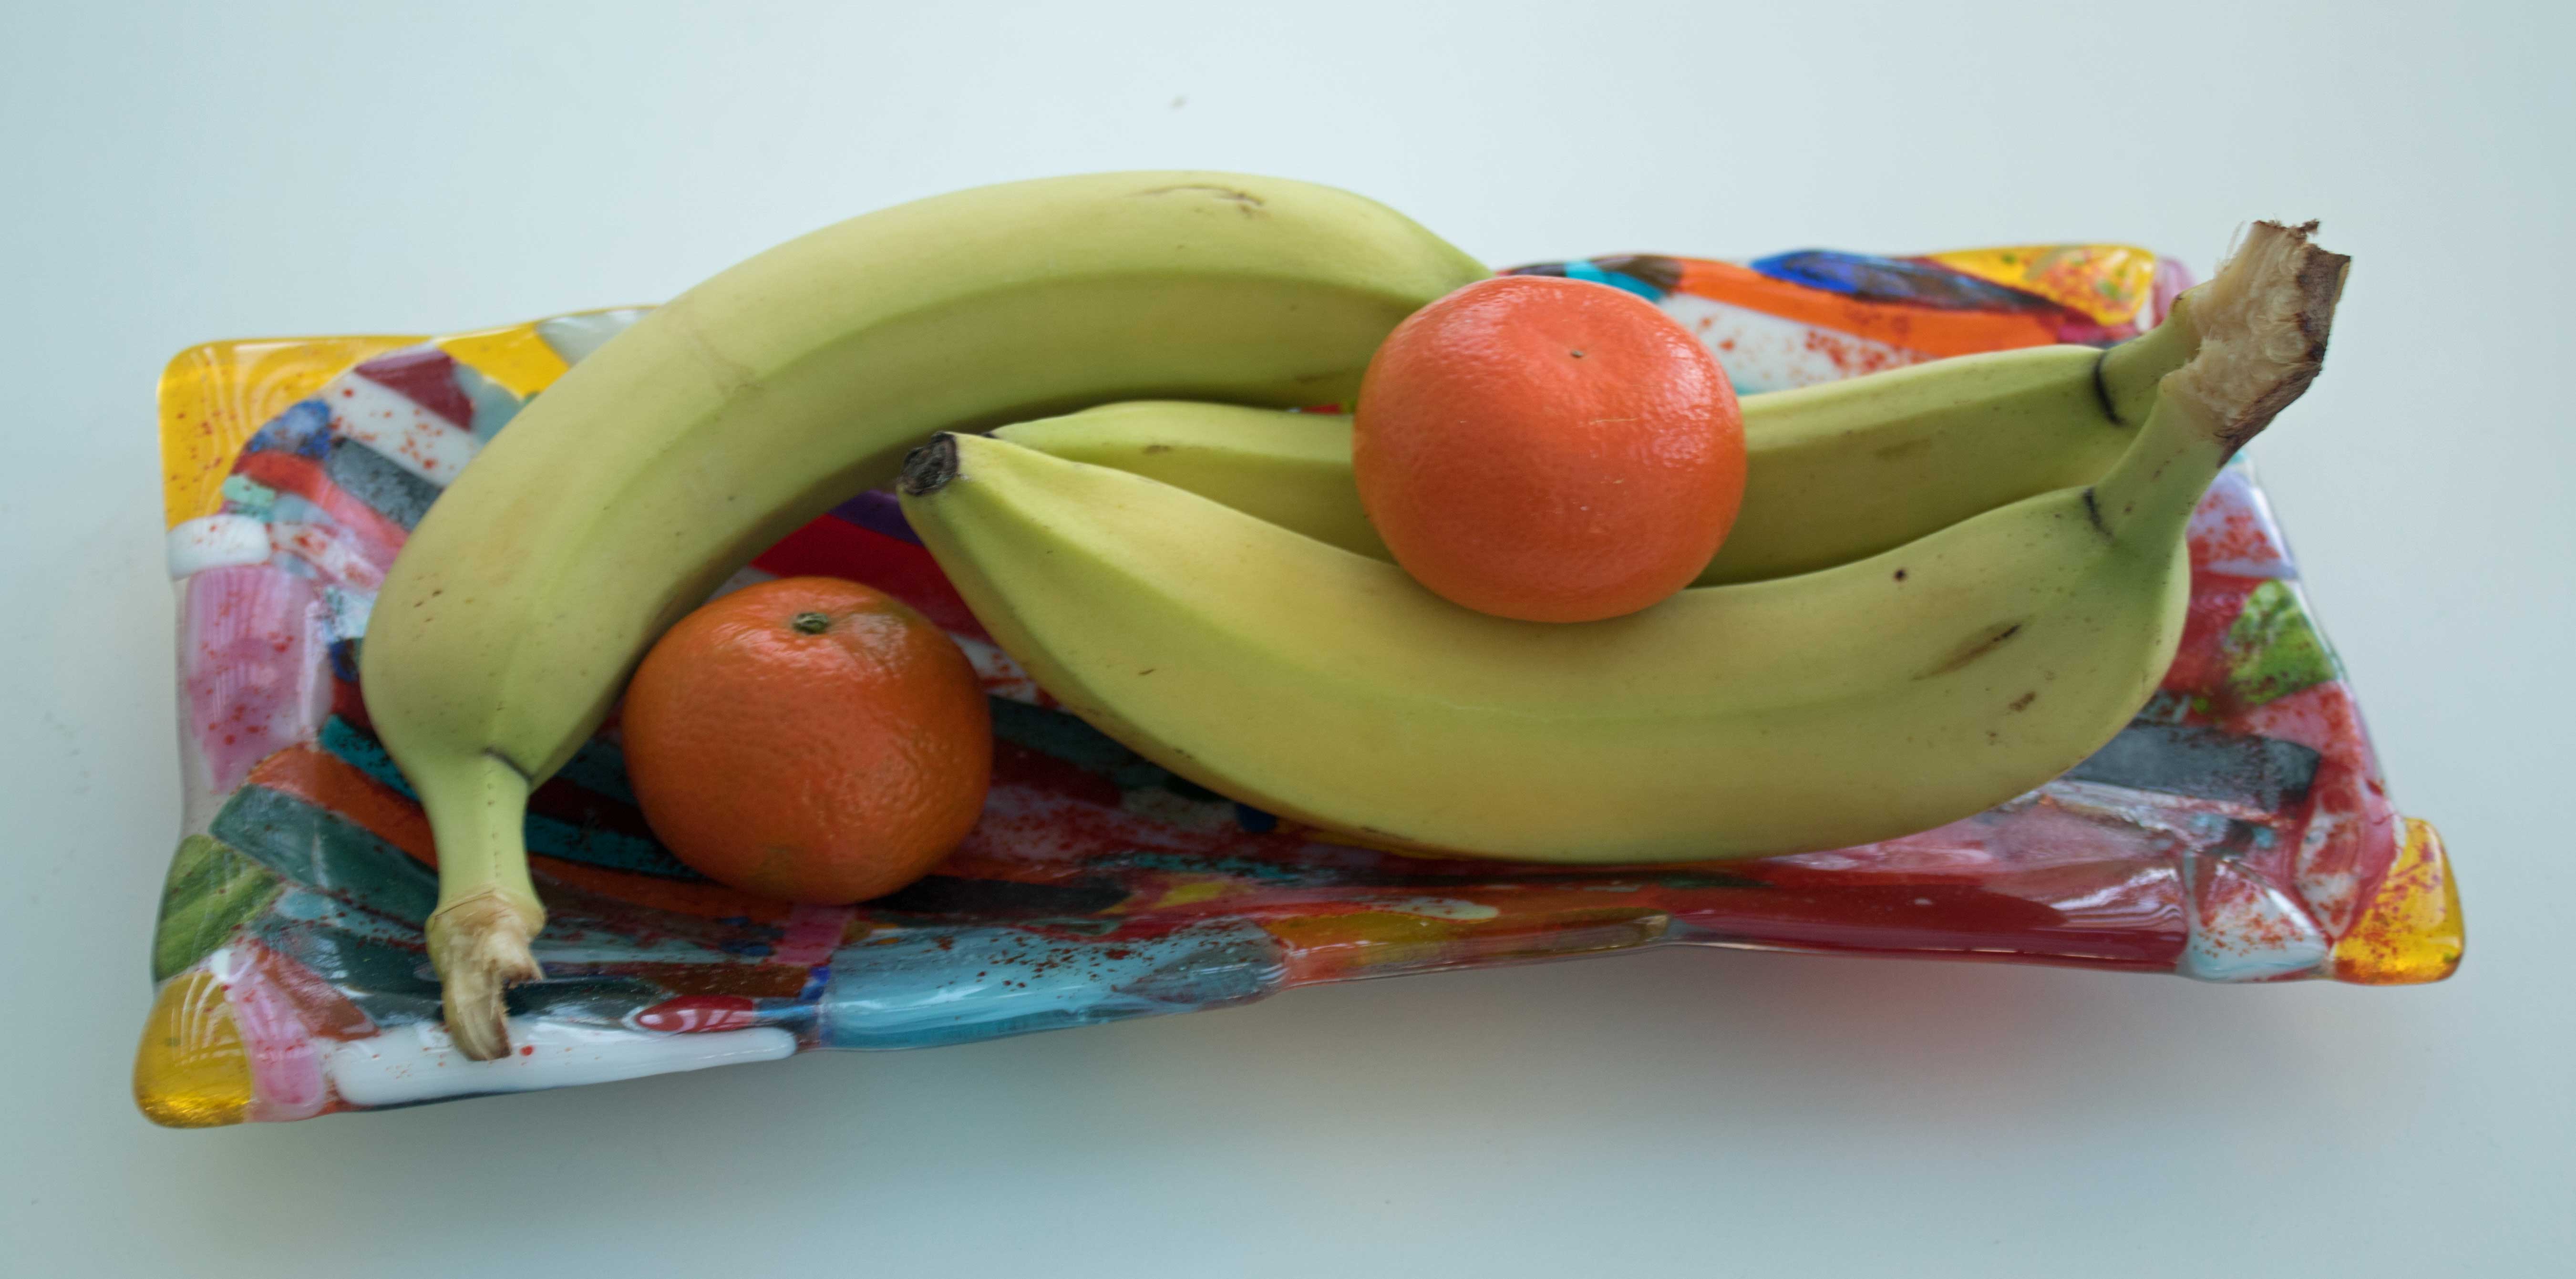
So we needed something to do with the offcuts of clear, coloured and patterned glass that we have built up. Enter the Fruit Bowl.
 For some strange reason I really enjoyed making this piece.
It took a three stage process to get it finished:
a) Cut the glass and assemble
b) Full Fuse to get all the glass into a single piece
c) Slump Fuse to get the shape
It's made from a single sheet of clear glass which was cut to size. I then sorted out some of the coloured offcuts, and arranged them on top of the clear glass. As you can imagine, the offcuts are all sorts of shapes, and no amount of arranging and re-arranging them covered the complete clear sheet - there were gaps left. To leave it like that would have resulted in the suface of the bowl being pitted and potentially have holes appear - not a good thing. So I used some red frit - crushed glass - to grout between the offcuts. I had intended to brush the red frit off the surface, just leaving it in the gaps. But I liked the look, so I left it. Stage one over.
Into the kiln then for a full fuse, taking the temperature up to around 800 c and then cooling on a carefully
controlled cycle to ensure that all the stresses introduced by the heating are allowed to relax. Stage two complete once we returned to room temperature.
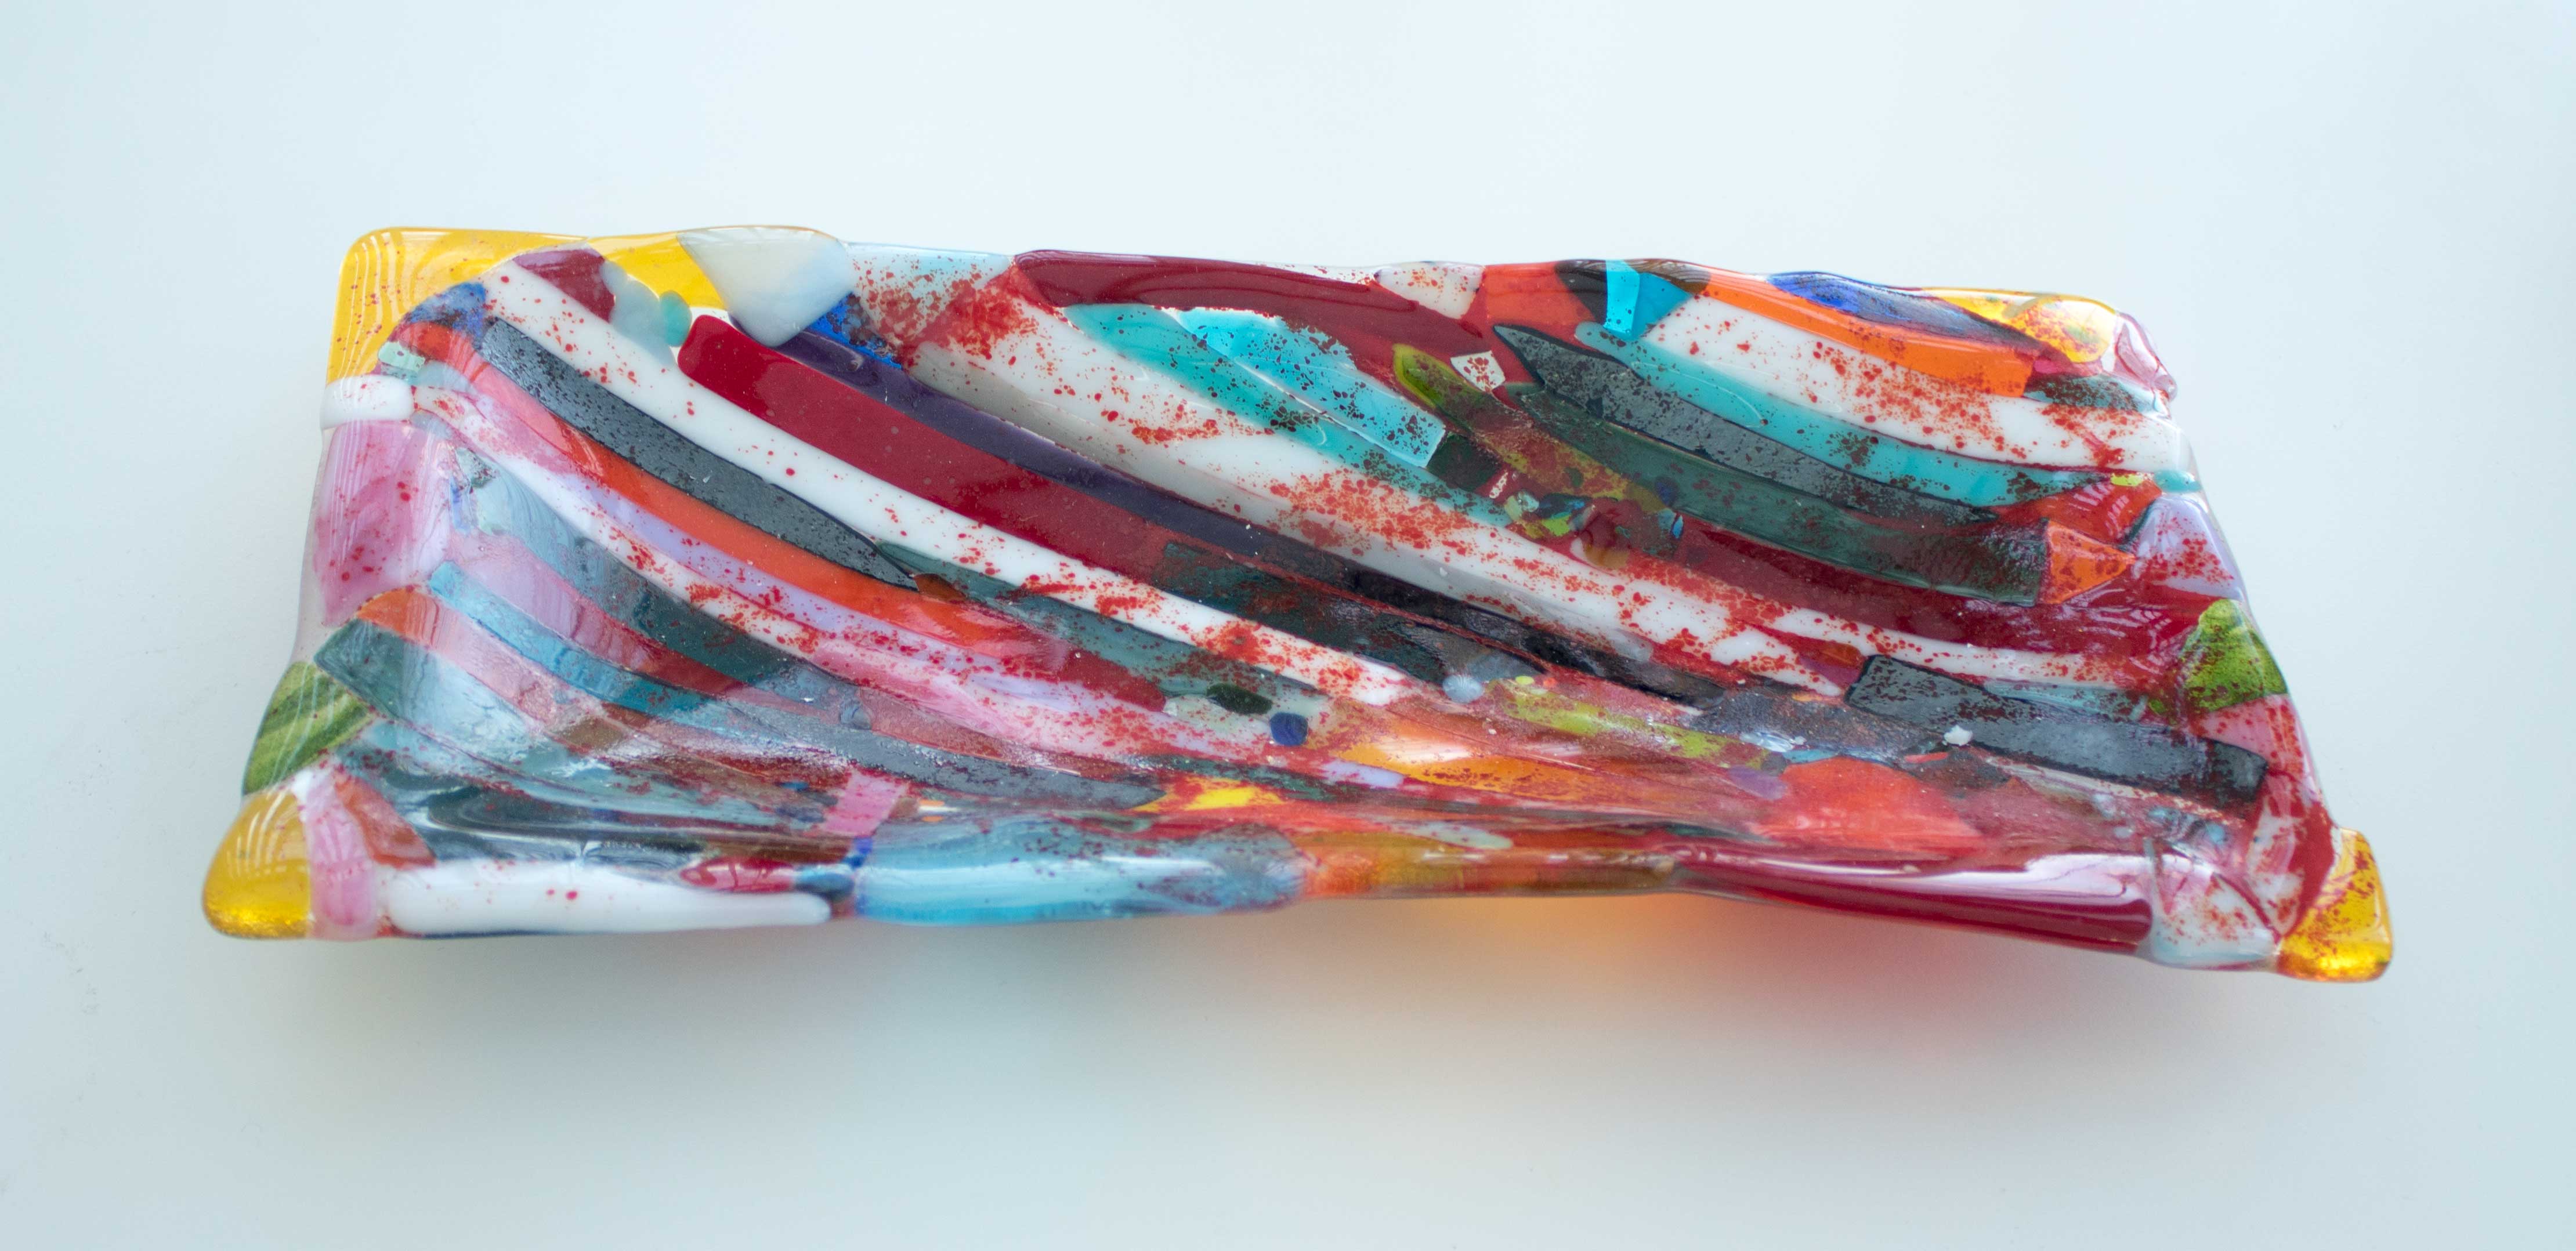 Then the slightly unexpected part - shaping the bowl. I have a number of standard plate and dish moulds, but I didn't have one the shape that I wanted. Research on the internet (Google is everyones friend) gave up the technique of using chalk to shape glass in the kiln. A quick run out to Hobbycraft (other chalk suppliers are available) found a box of fat chalks ready to make a mould. I made a rectangle of chalks the outline of teh bowl I wanted and covered this with a thin sheet of fibre paper to soften the edges. Then into the kiln for a slump fuse which is hot enough to get the glass to take a new shape using gravity, without going really runny. Once back out of the kiln, and I was delighted with the results.