Welcome to our website.
We are living in strange times, and we count ourselves fortunate to be able to continue communicating with friends and family, even if we can't give them a physical hug.
We're not booking any physical fayres at the moment, but we hope to be back out 'on the road' before Christmas. If you'd like us to come along to your event just drop an email to This email address is being protected from spambots. You need JavaScript enabled to view it. and we'll see what we can do. We have tried a few Virtual Fayres - follow us on Facebook to find out where we'll pop up next.
The on-line store is up and running, and we are stocking it with more goodies each month. You can see some of our latest listings in the shop at the head of this page - just click to go directy to the shop.
You can also find us here on Facebook.
Anatomy of Stripey Pendants
Like Tartan Paint, you don't buy striped glass. There are plenty of wonderful abstract designs in glass available for crafting, but stripes...
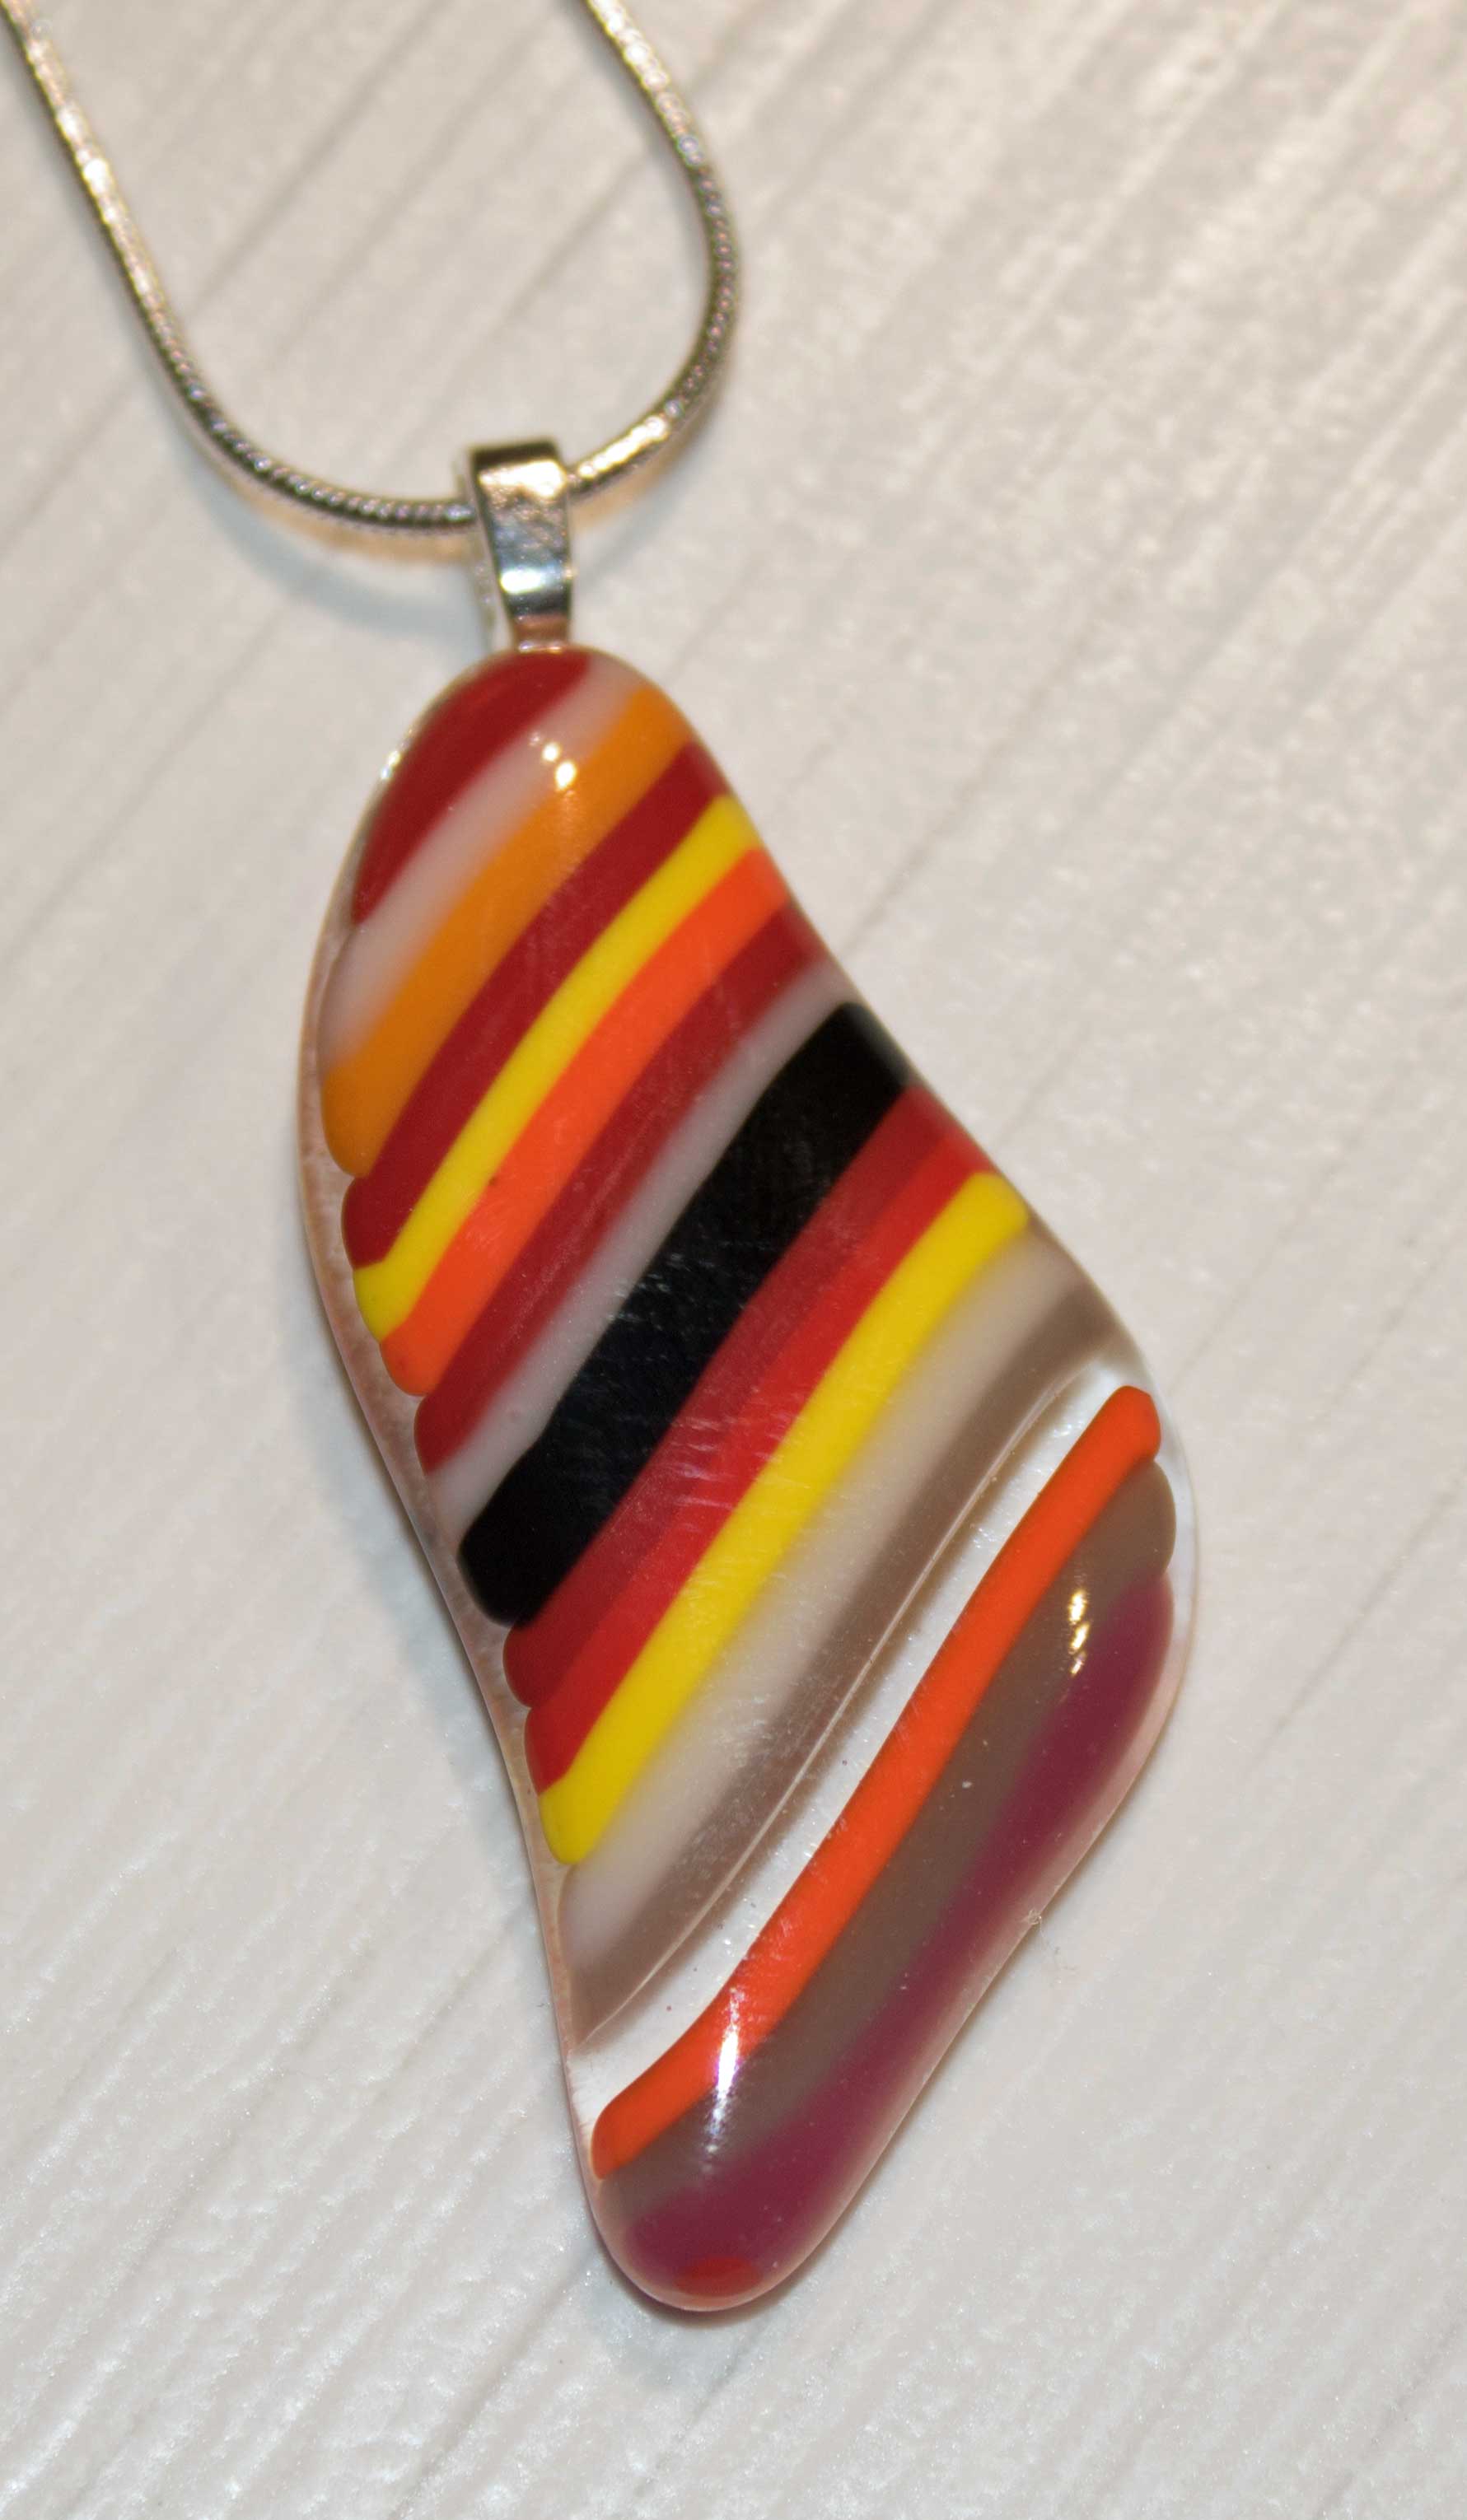
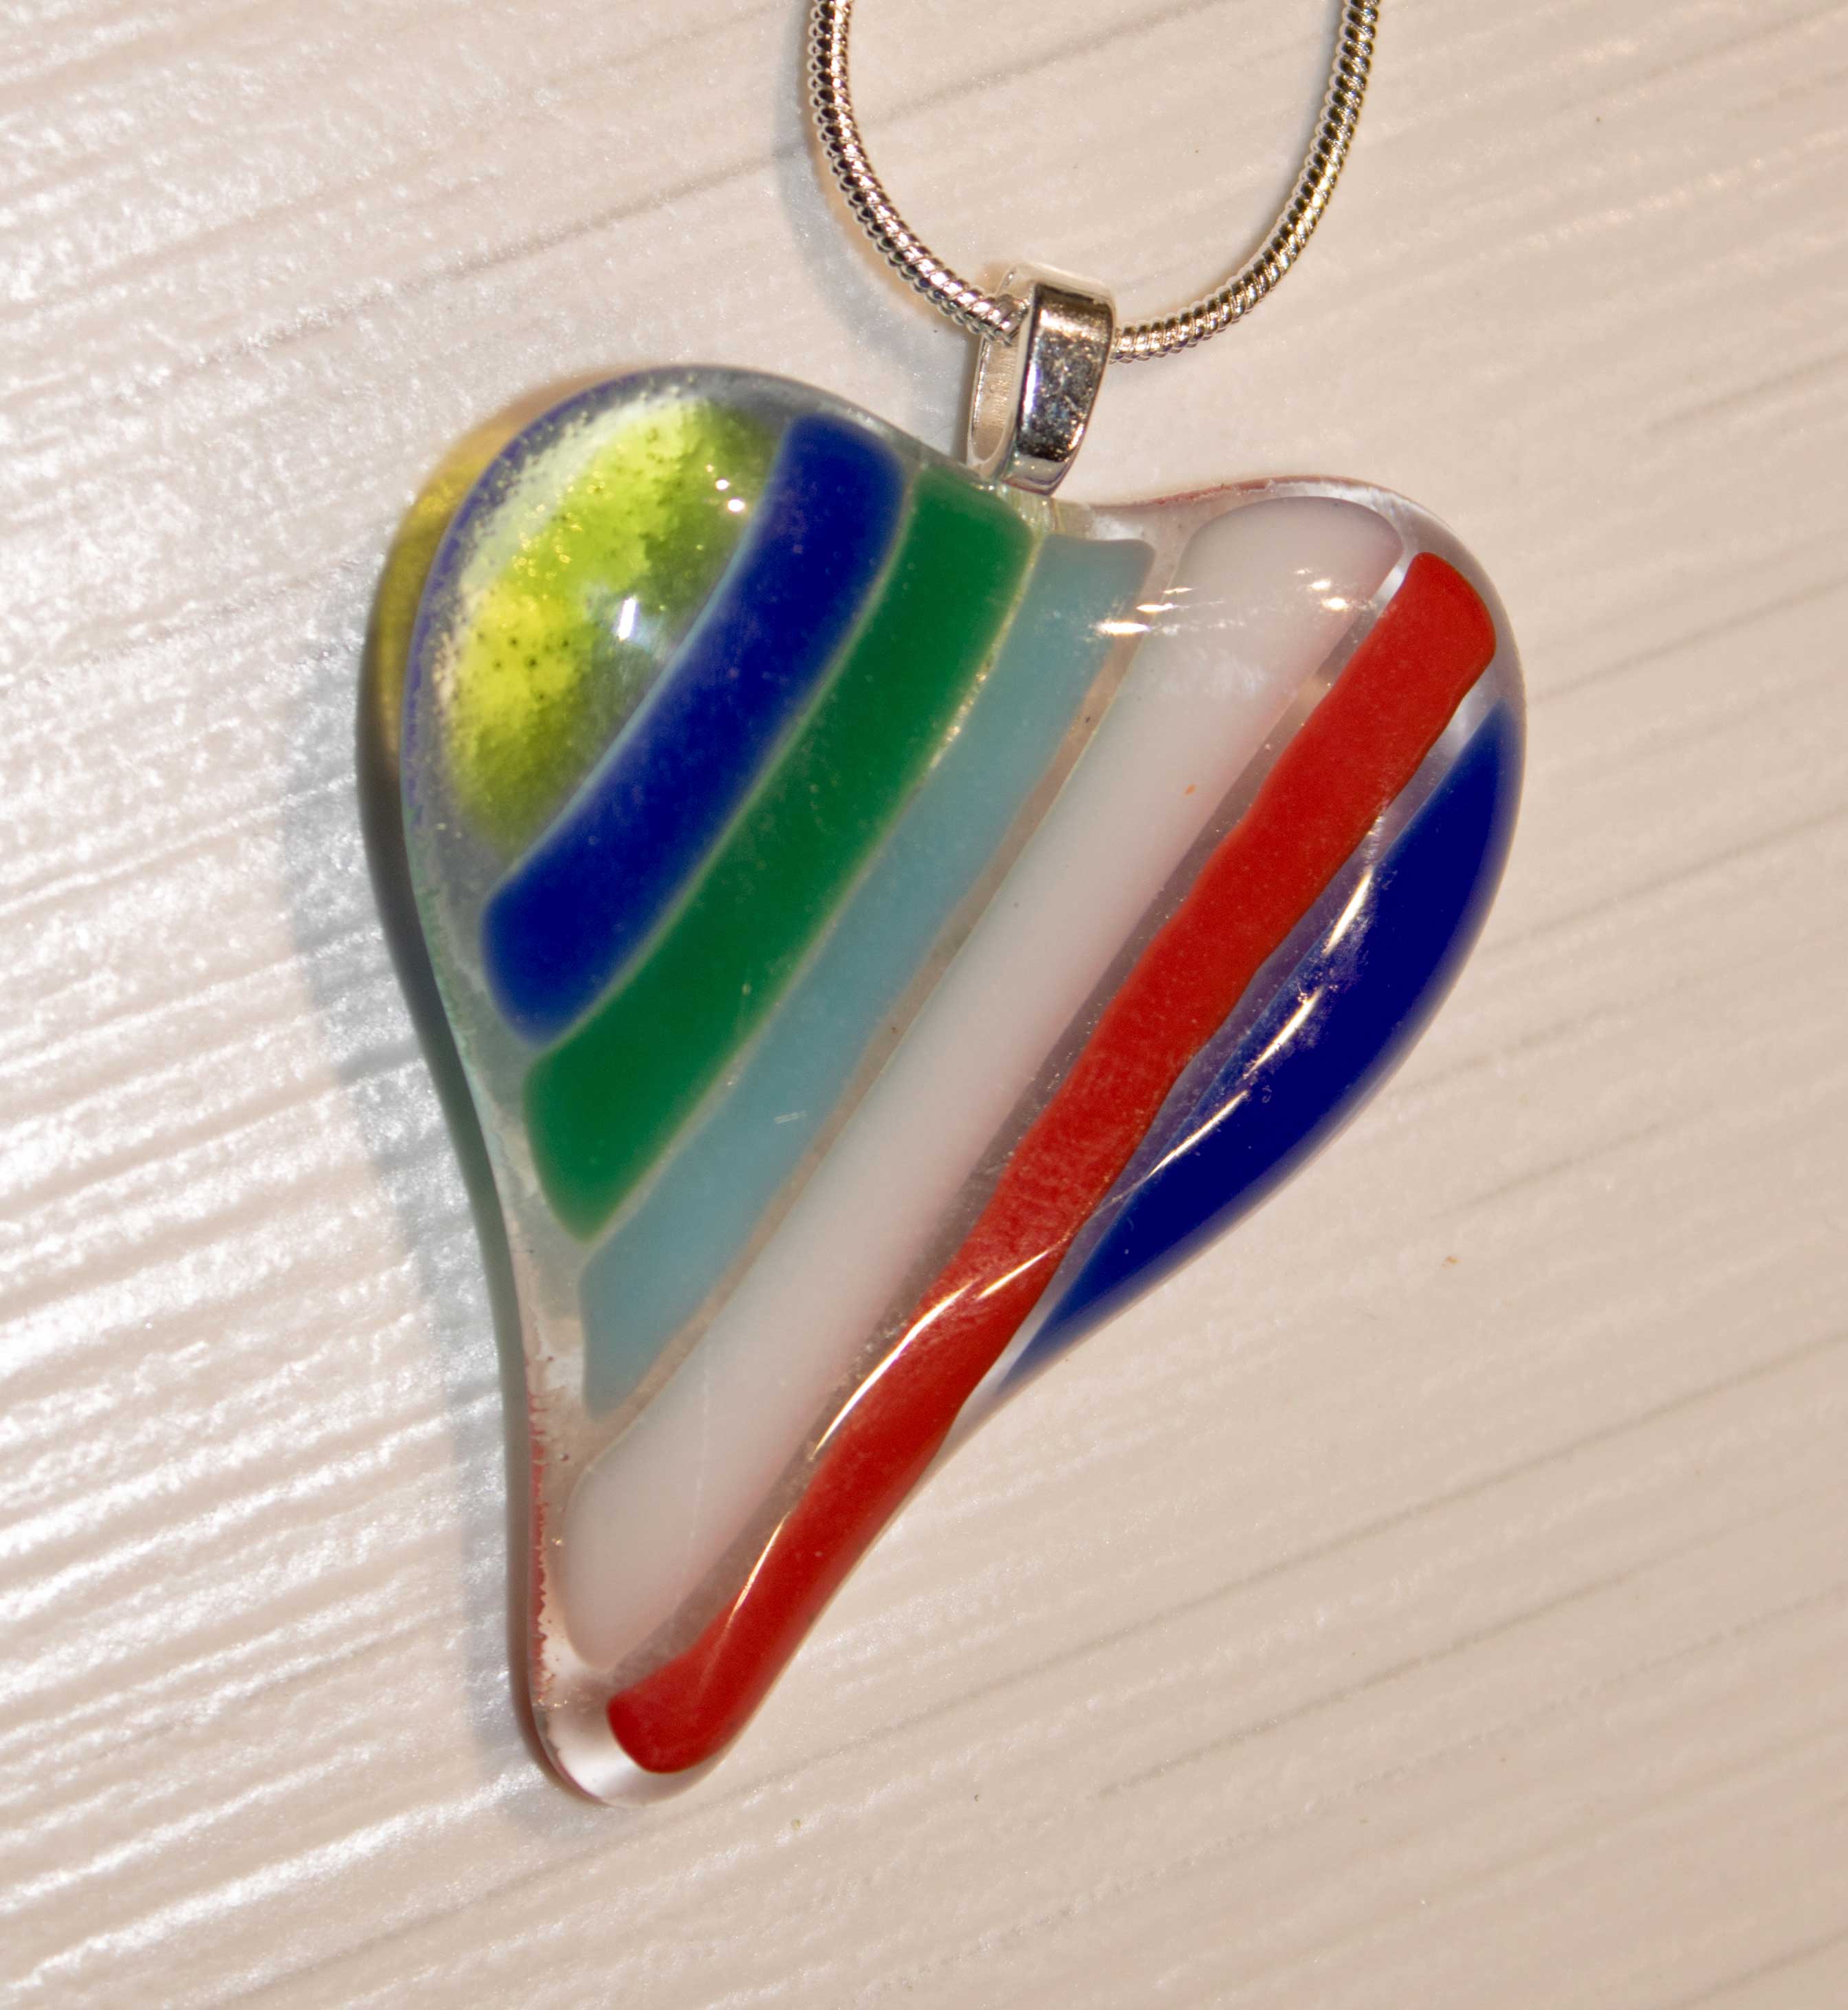
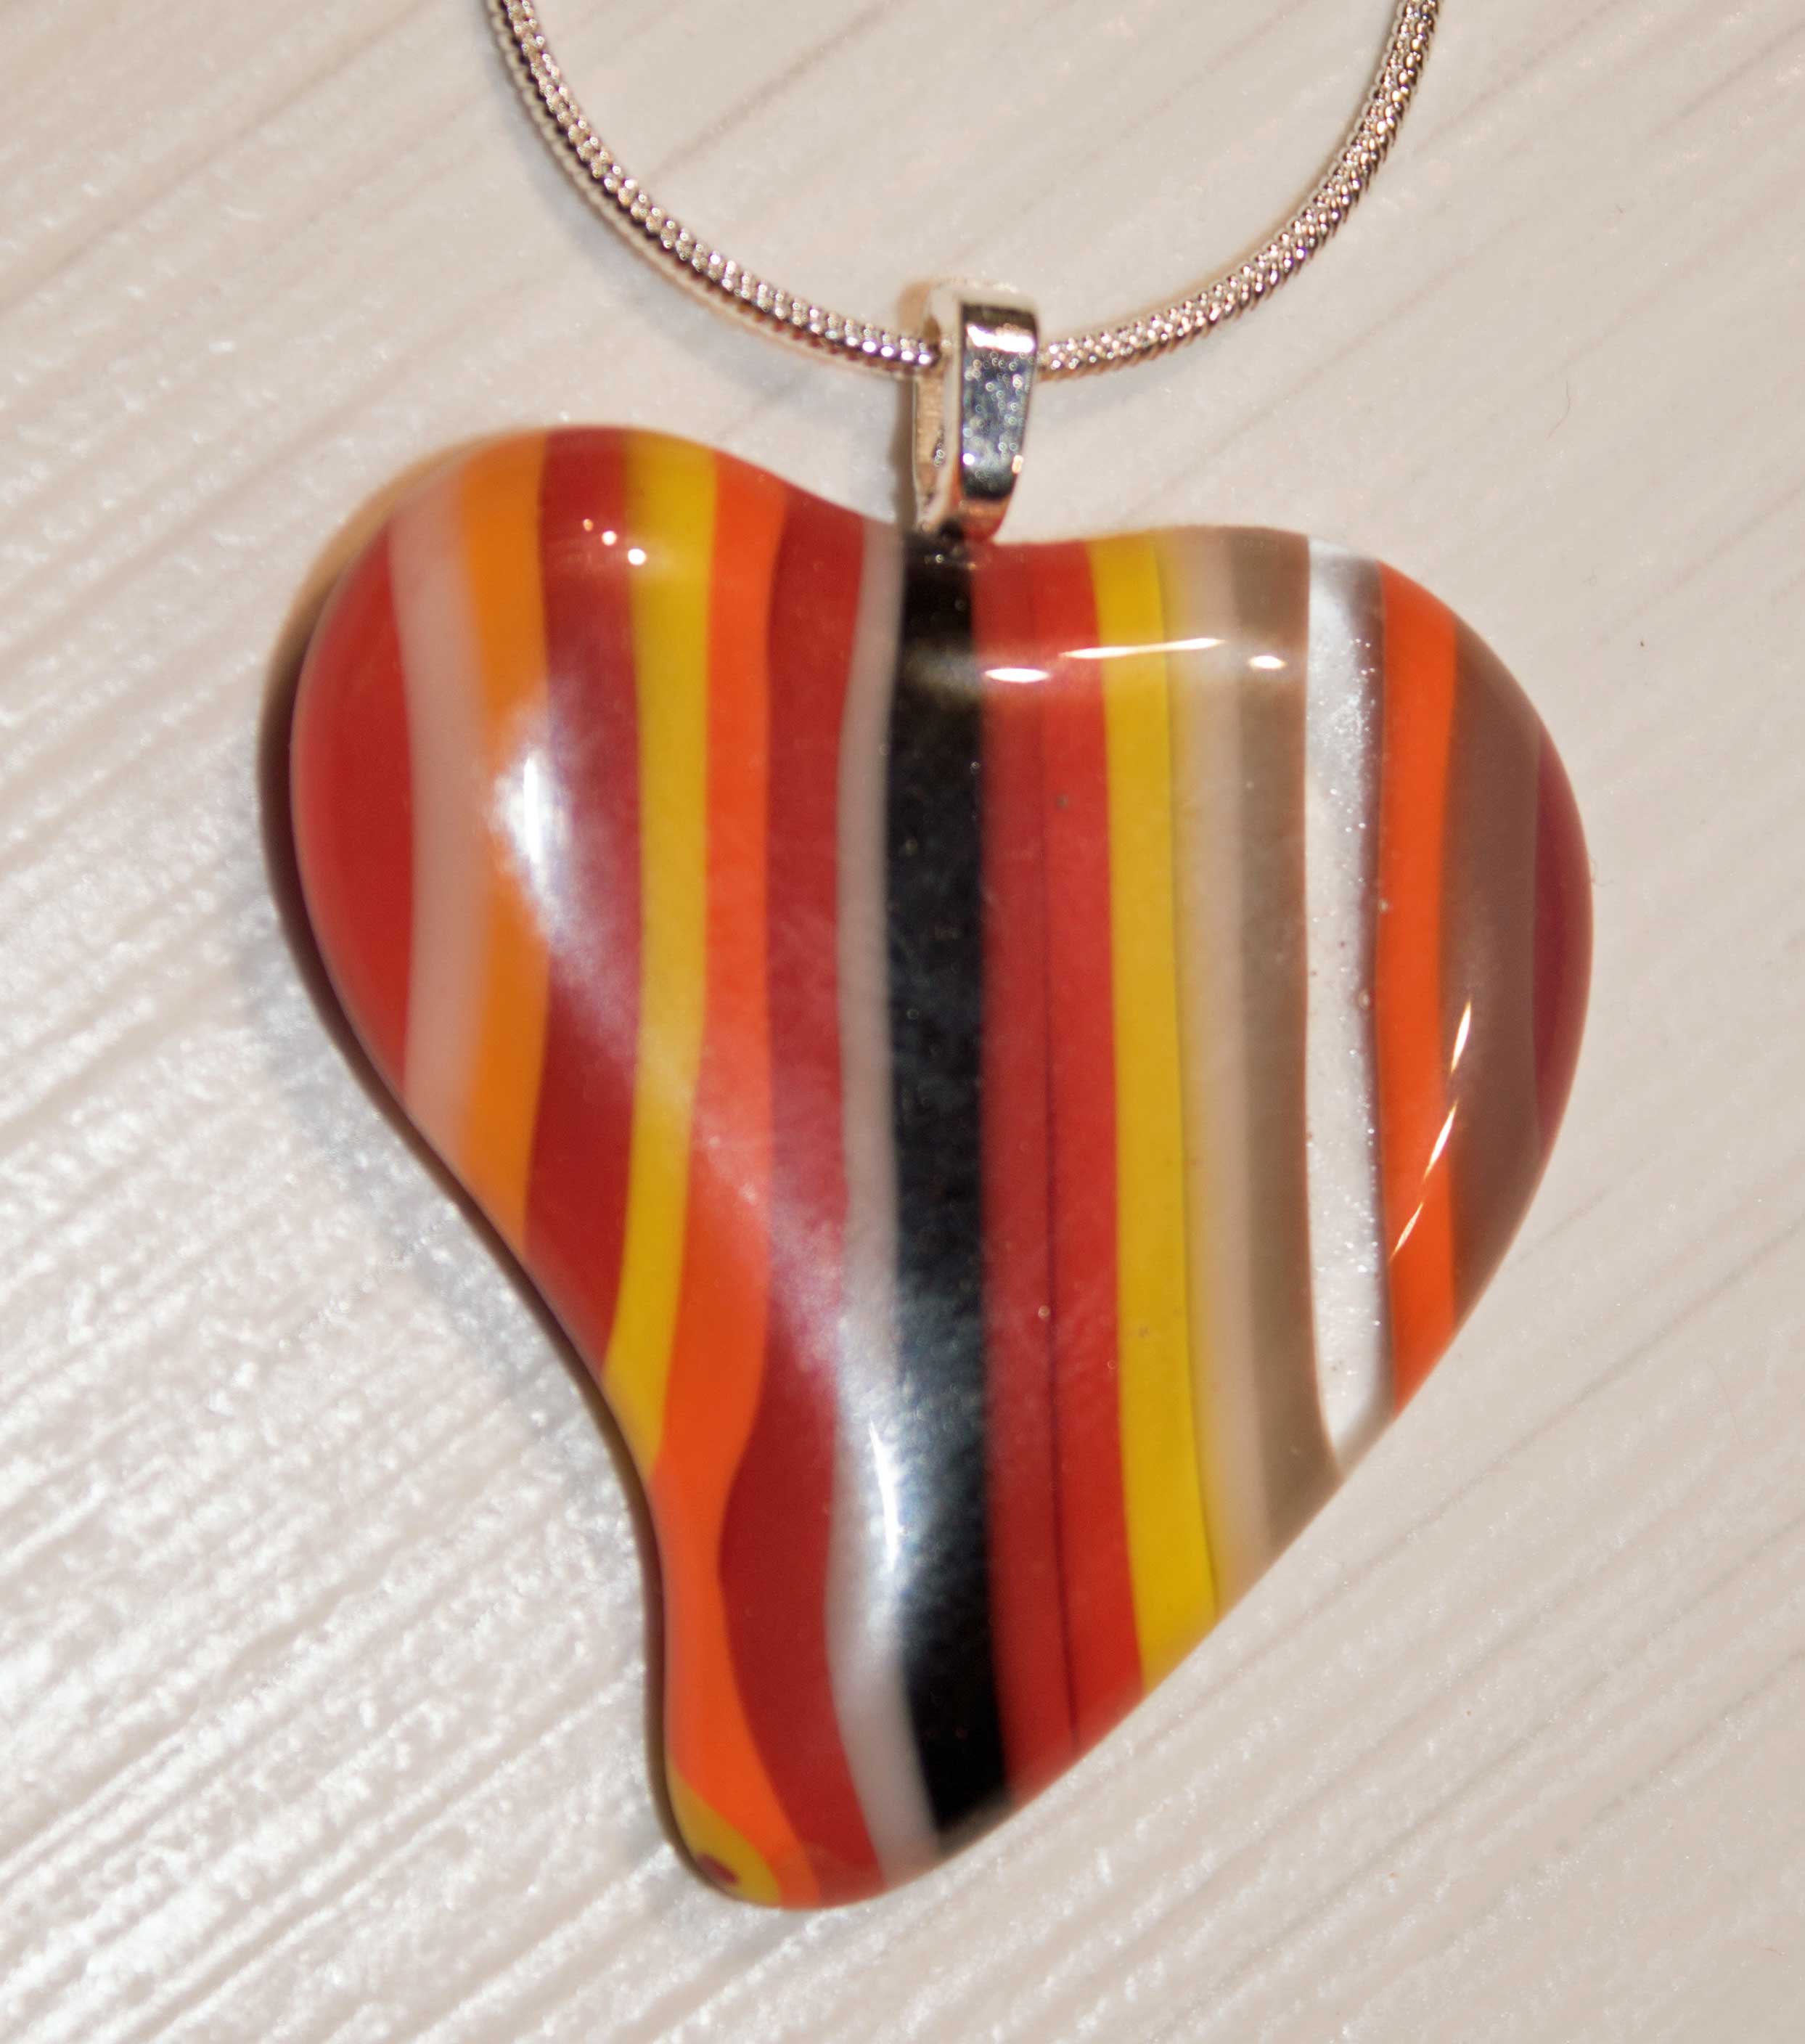
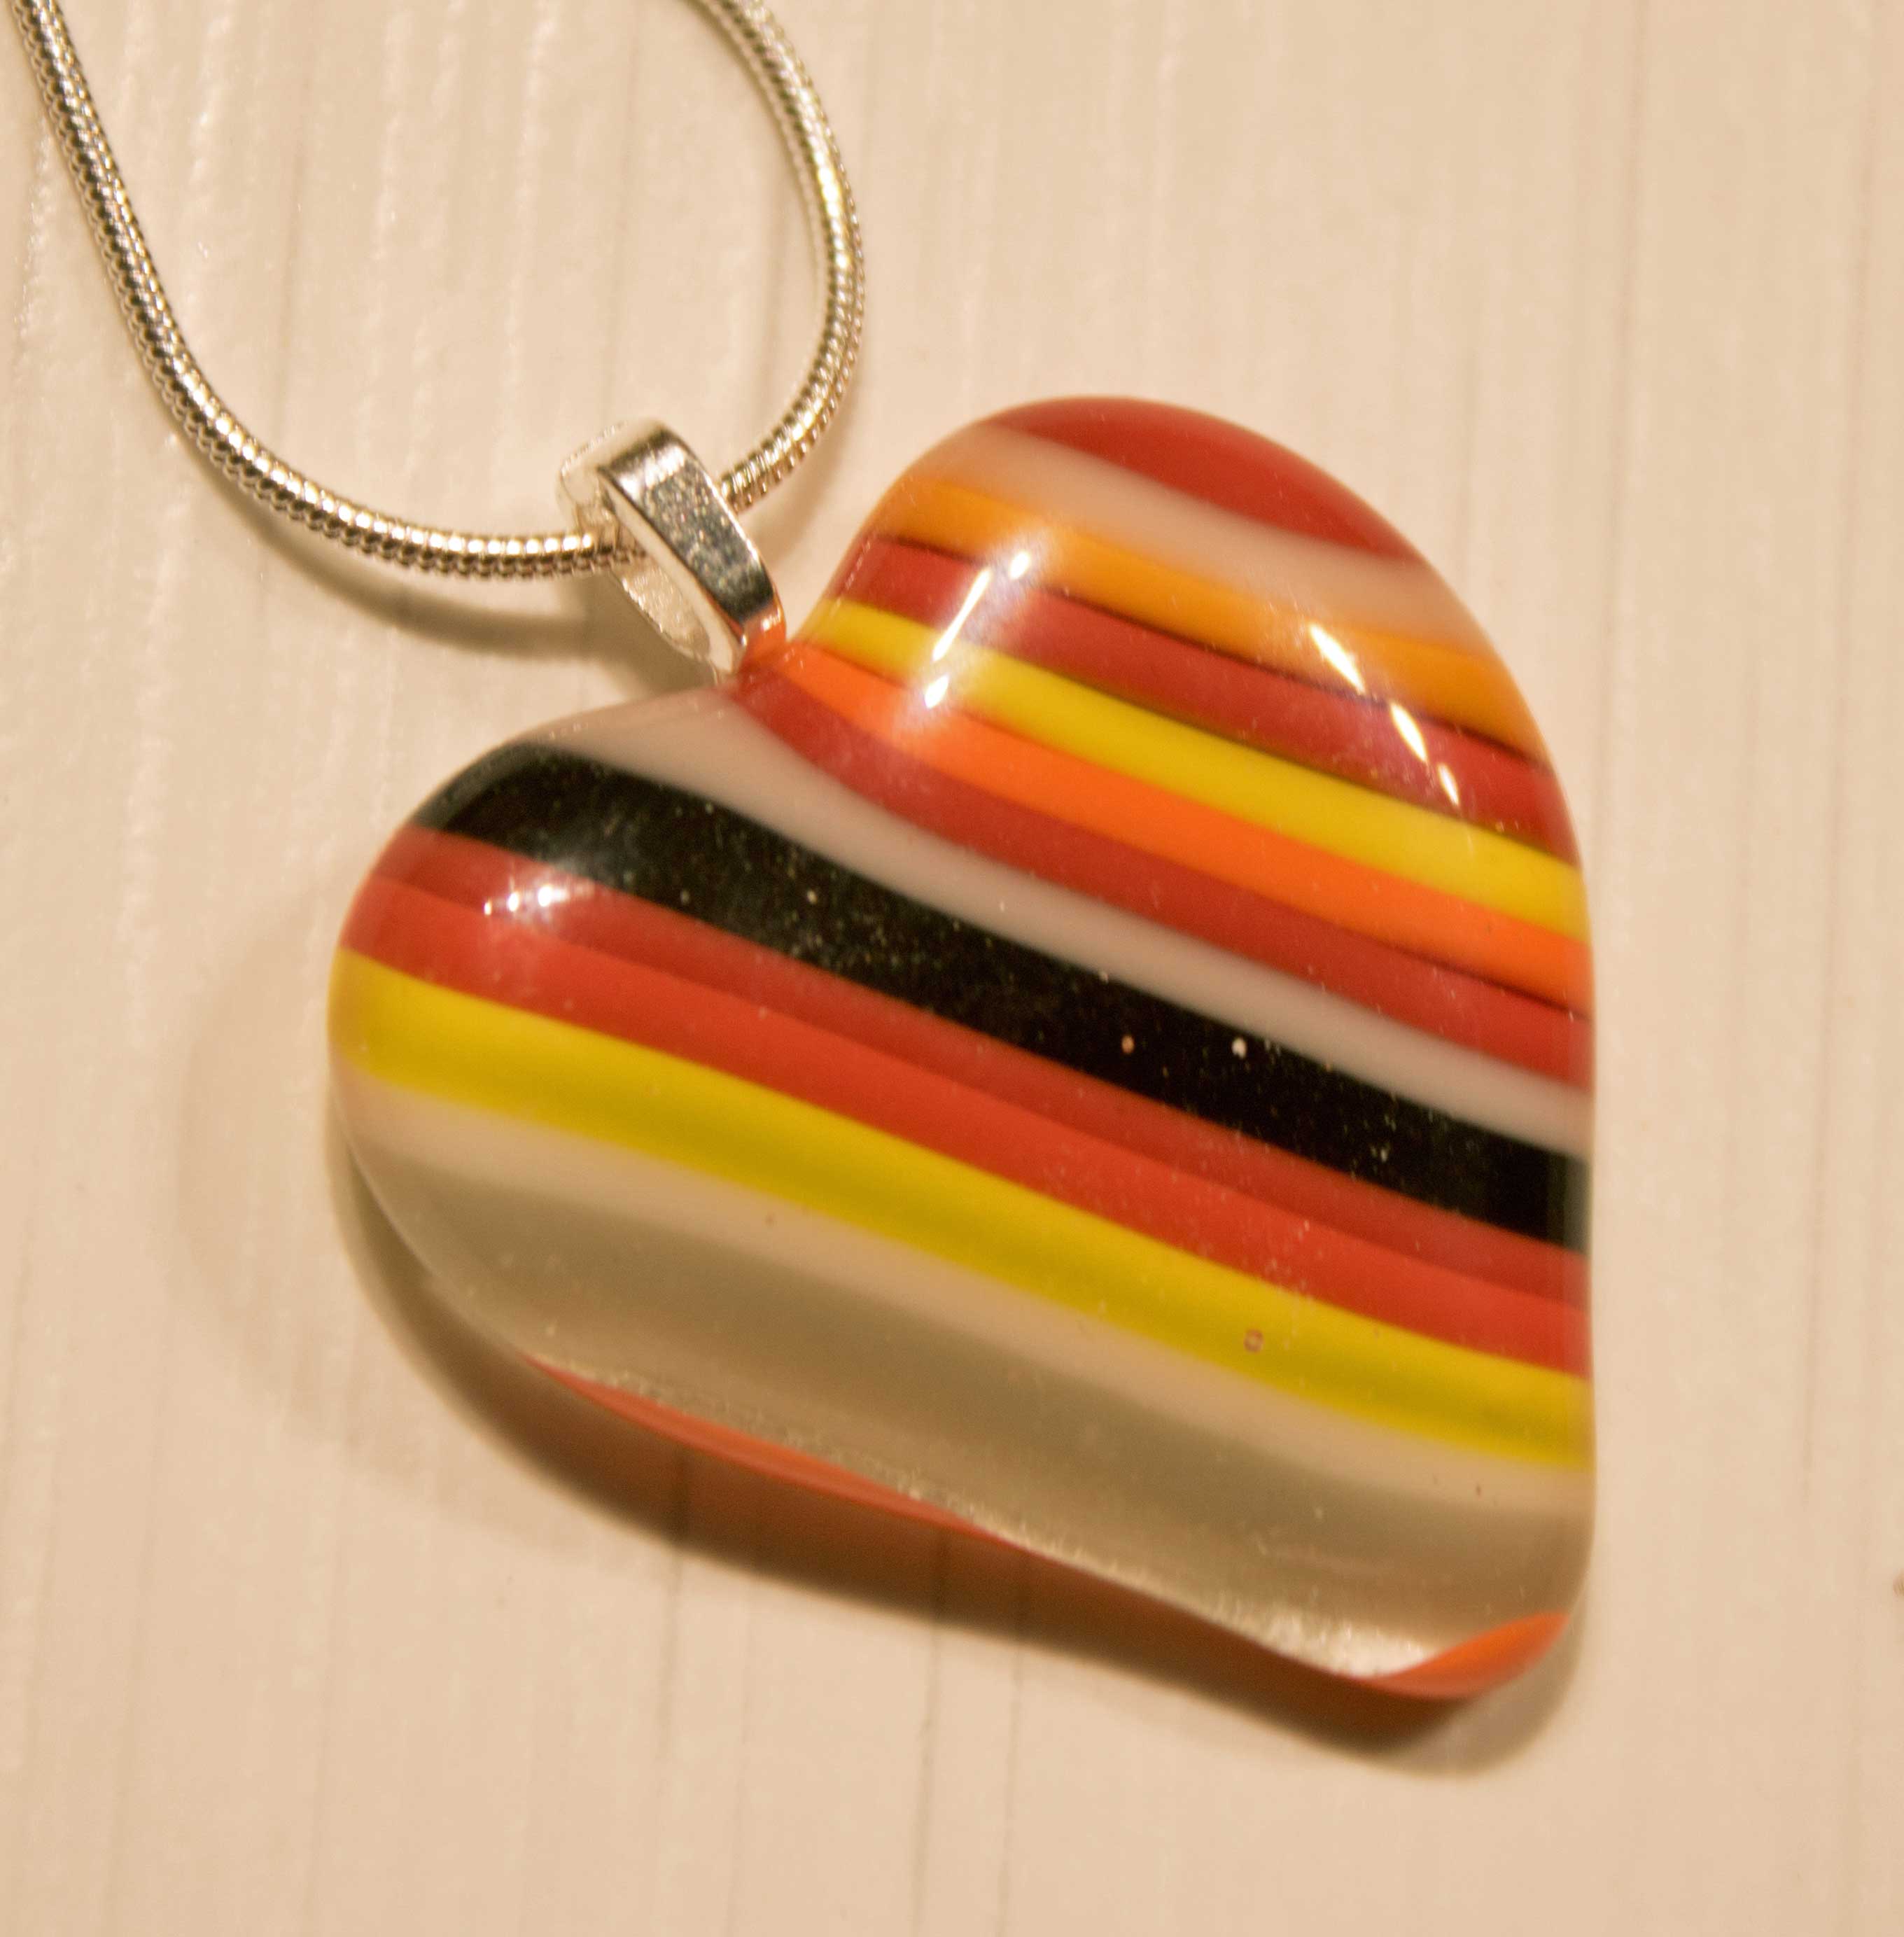
So we decided to make our own and use it to make some vibrant pendants. Here's what we were aiming for.
This is the process we used from raw glass to finished pendants.
Making the Striped Glass
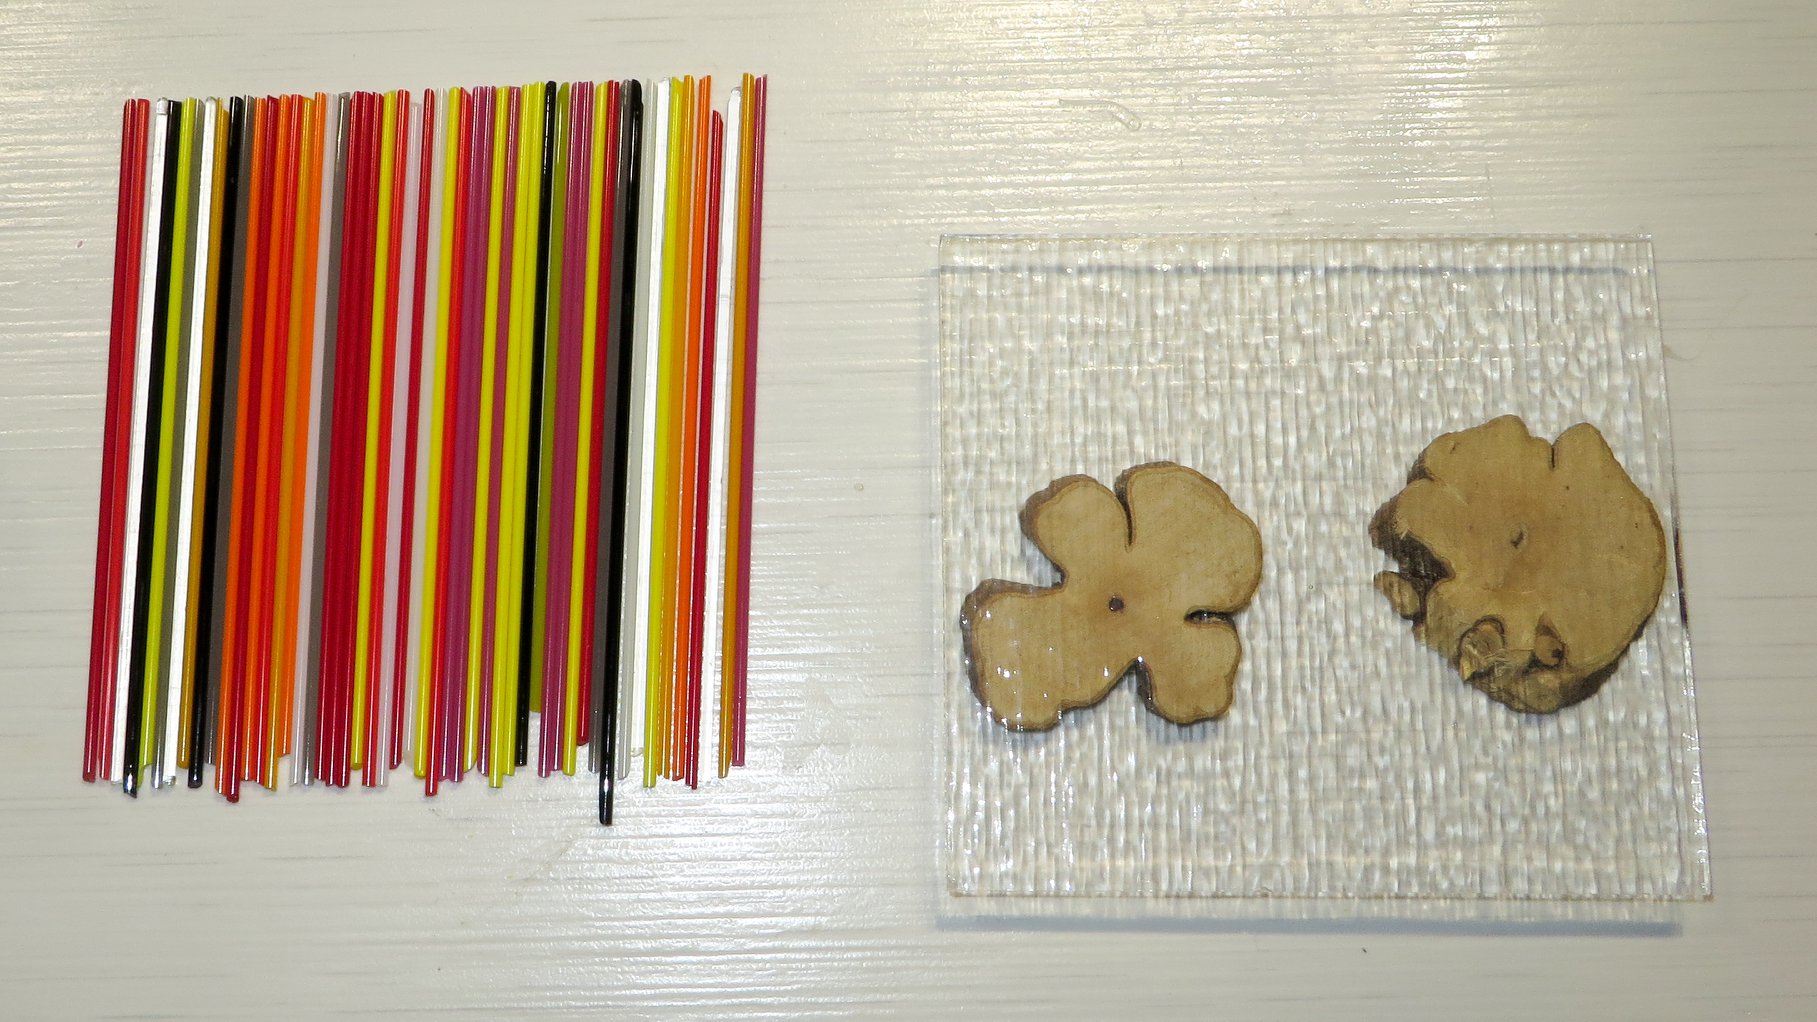
We first assemble our raw materials - just like a cookery recipe.
The coloured stripes on the left are 2mm diameter glass rods - Stringers. These come in all sorts of colours. Some are opaque when fired, whilst others are transluscent to some degree or another. These have all been cut to around 10 cm in length - the size of the backing sheet of clear glass.
On the right of that picture is our base sheet of clear glass. This is 10cm square. The pieces of wood you can see are just slices that I use to lift the base glass off the worktop and make it easier to pick things up later.
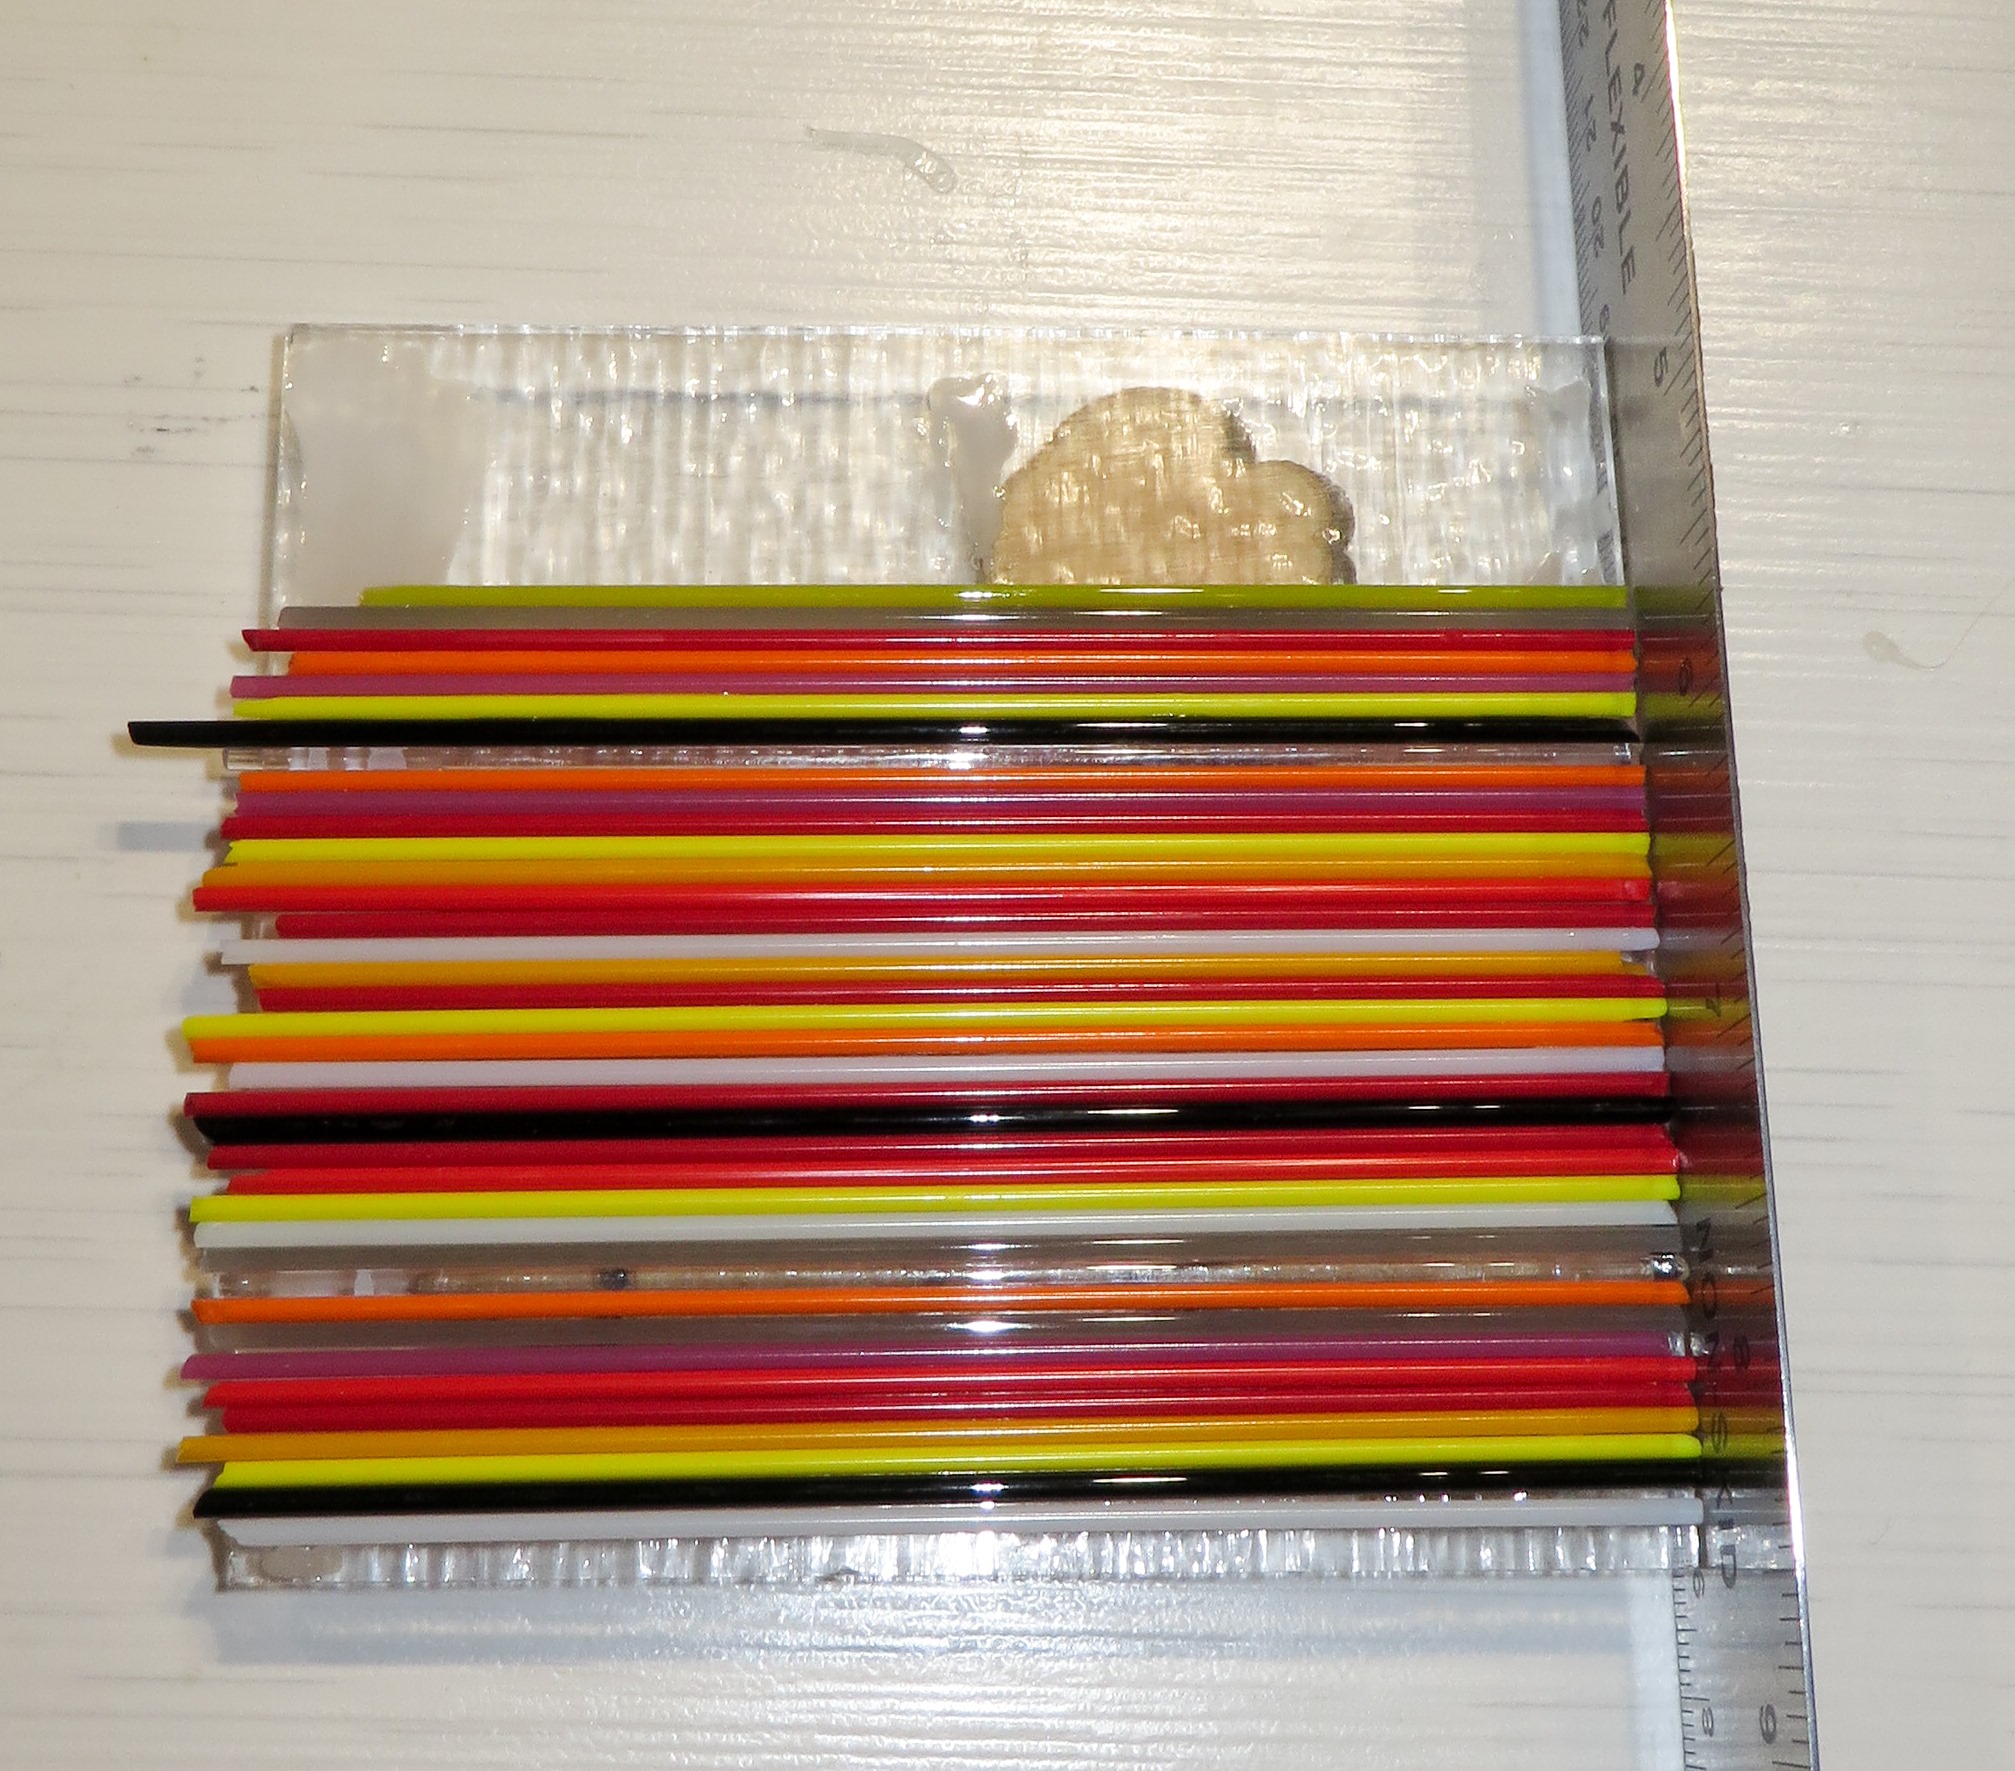
The picture on the right shows how we have laid out the stringers on the base clear glass - all lined up. i just use a line of glue at each side of the base glass to hold things in place. The glue burns off in the kiln and leaves no residue.
The Whole contruction goes into the kiln for a Full Fuse, going up to around 800c and back down to room temperature in a carefully programmed sequence of heating, holding, and cooling. This makes sure that the piece fuses evenly and that all the stresses involved with the heating cycle are allowed to relax.
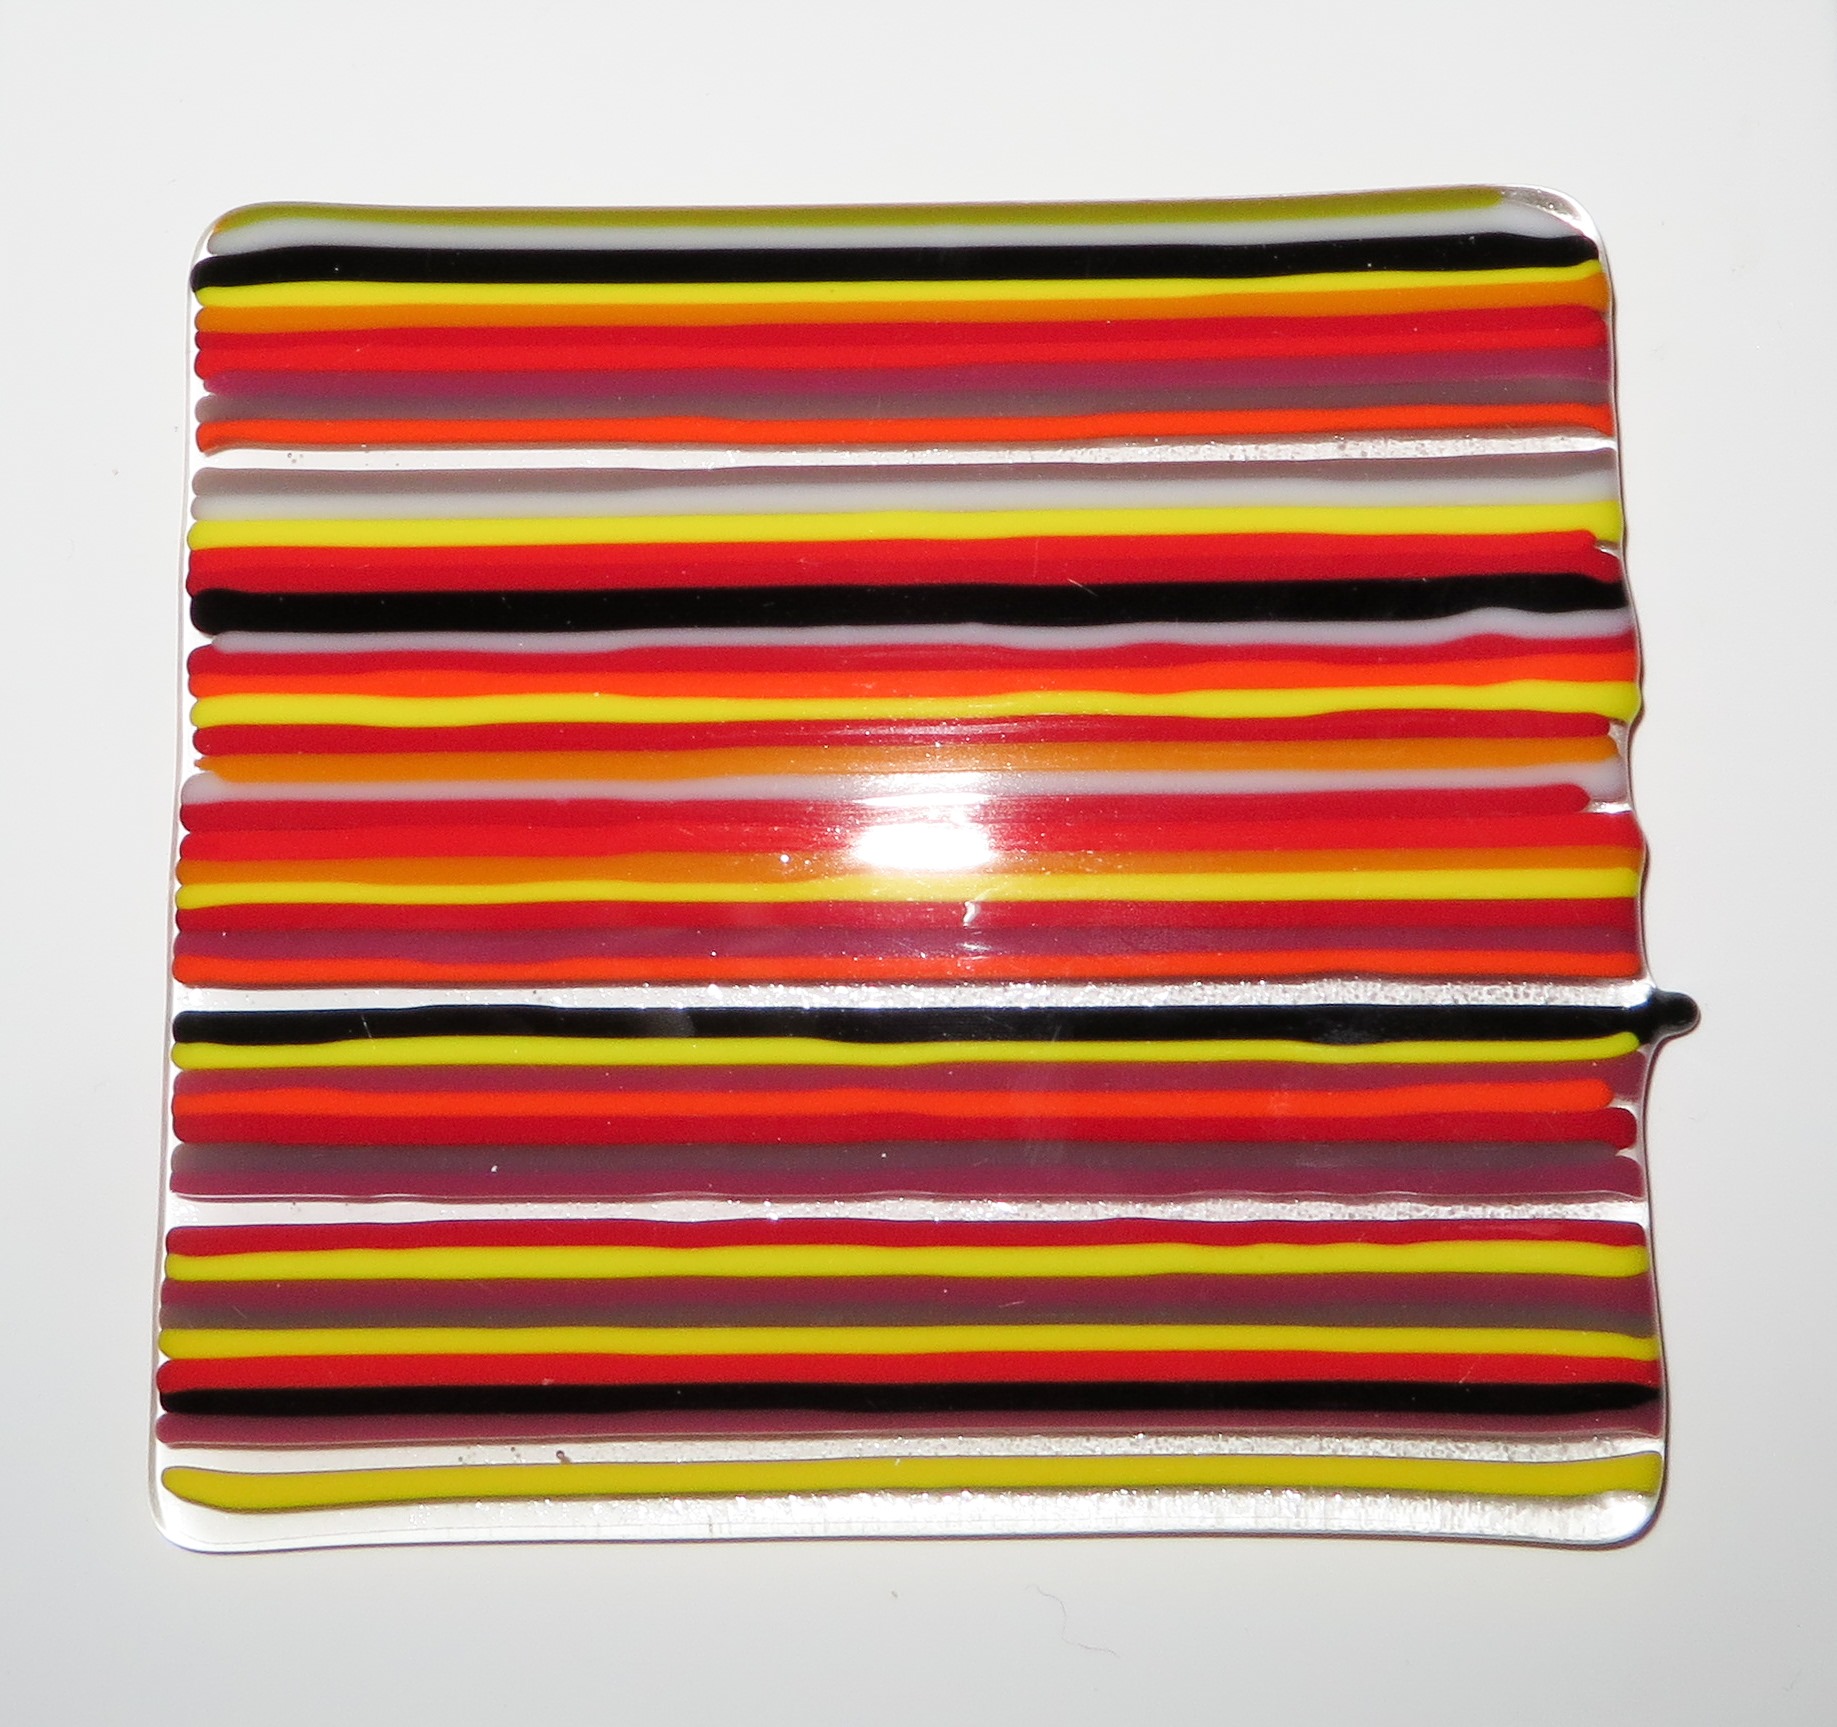
And here is the result out of the kiln.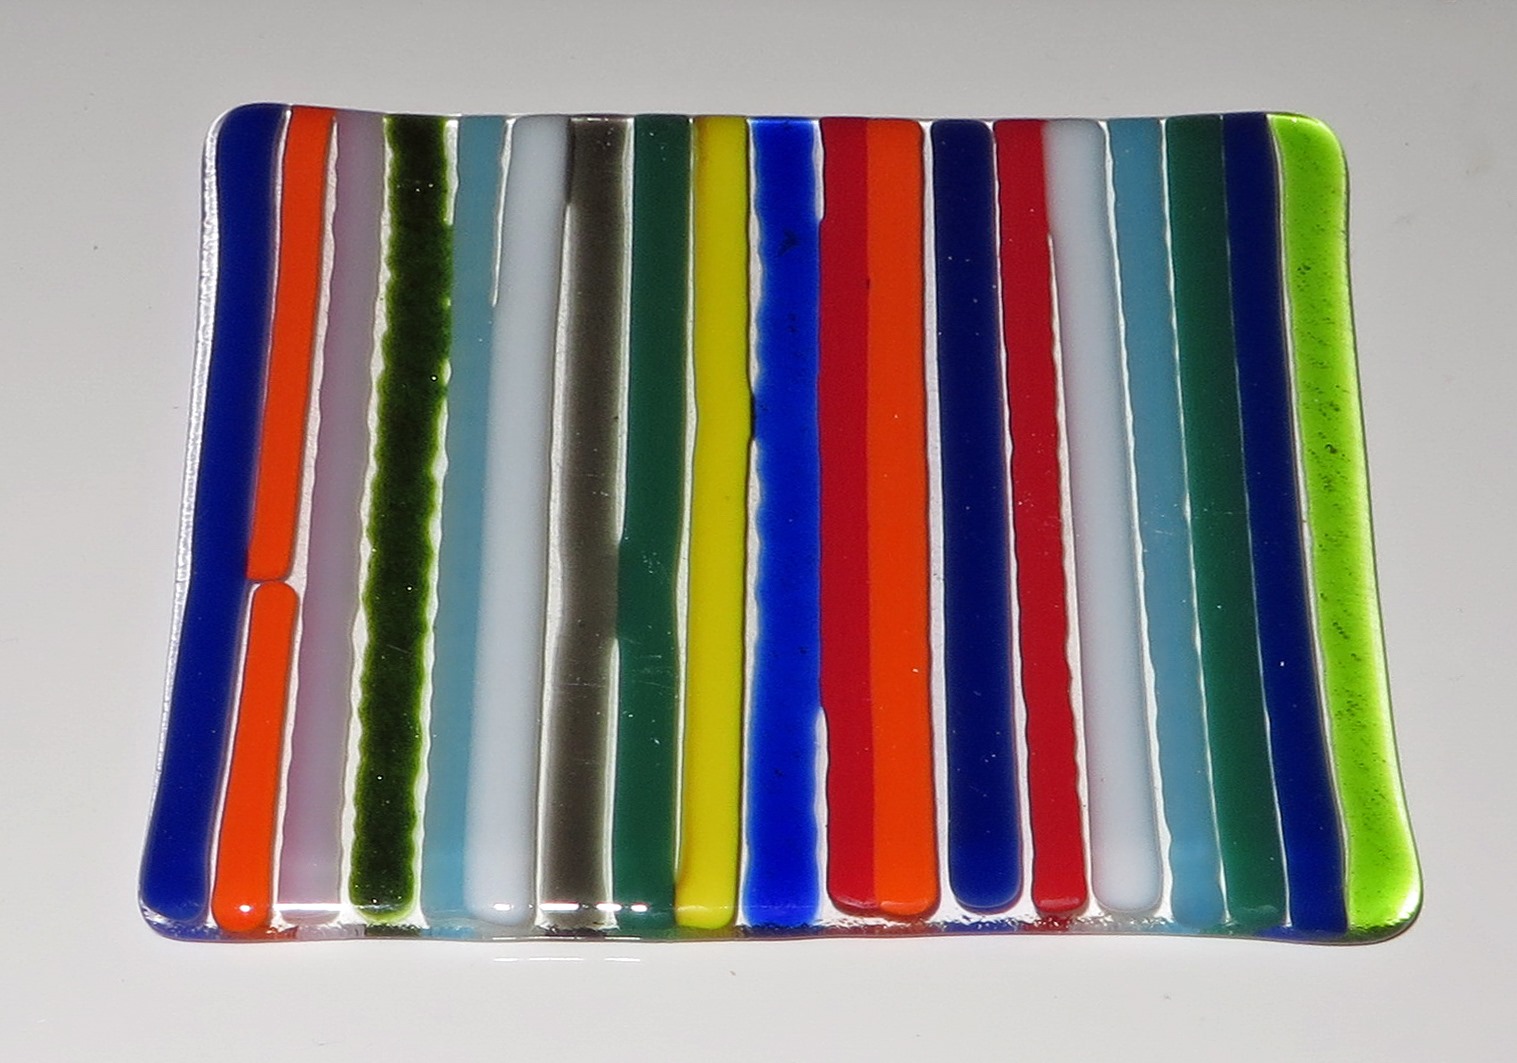
All the stringers have fused together and have fused to the base sheet of glass - they can't be separated now.
The glass has shrunken slightly as it tries to get to 6mm thick - you can see how it is slightly bowed in along the bottom side.
We can also use the same technique to make glass with slightly wider stripes using 4 x 2 mm glass ribbons.
The glass sheet is now ready for cutting.
Cutting and Shaping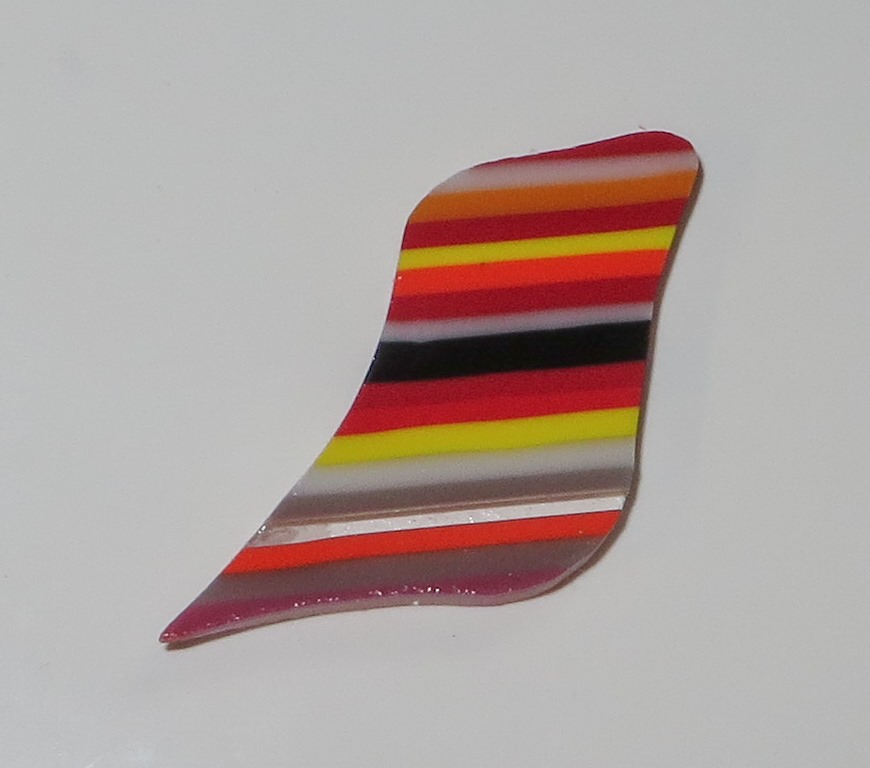
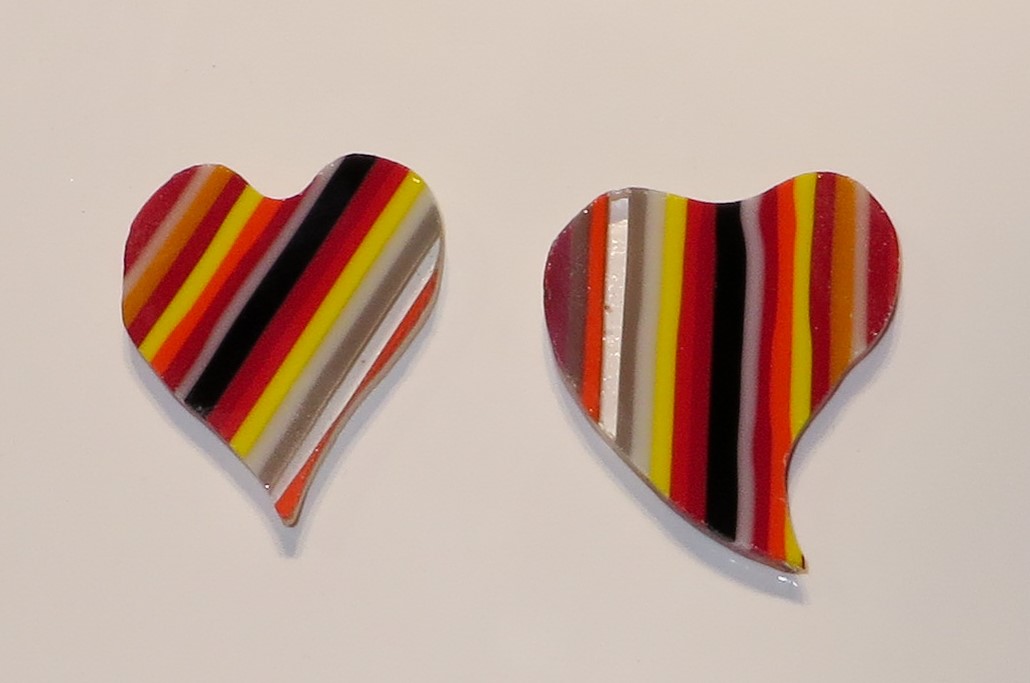 All of our pendants are cut by hand using a simple glass cutter. In some cases we use a wet grinder to smooth edges.
It's relatively easy to get smooth and shallow curves, but the sharper curves, such as the indentation at the top of the left-hand heart benefits from careful use of the grinder.
This process leaves the shaped piece with very sharp edges - not good for your clothes or skin. So the next process is another fuse to smooth things off.
Final Fusing & Finishing
The piece goes back into the kiln for another full fuse which rounds off the edges and smooths out any nicks or scratches resulting from the cutting and shaping process. When they are out of the kiln and cooled we glue on a metal bail through which the necklace is threaded. The results are lovely!
Ear, Ear!
 Our first attempt at Ear-Rings
Tiny things like Ear-Rings are a bit fiddly for someone with fingers and thumbs as big as mine! But we do like to try new things.
These little beauties are all made from Dichroic Glass - glass that has a thin mettalic or mineral film applied to one side. The coloured glass is hand-gut to shape, covered with a piece of clear glass to protect the film and give the final piece a shine, and fused to around 800C. Once cooled, we glue on sterling silver posts and attach each pair to a display card with the butterfly fastenings - also sterling silver.
We think that they are worth the effort.

Striped Glass?
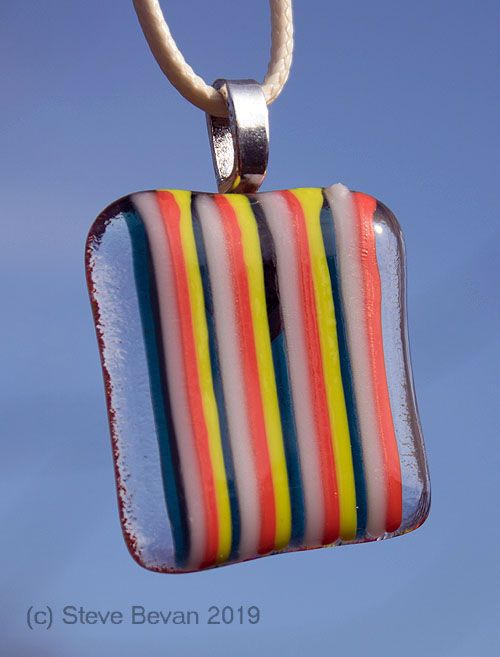 A bit like Tartan Paint, you can't buy glass like this!
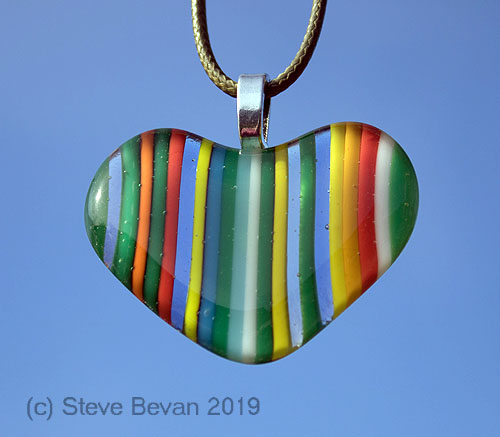
We have to make it ourselves.
Here we have some examples from our 'Stringers Collection' of Jewellery using glass sheets that we constructed ourselves.
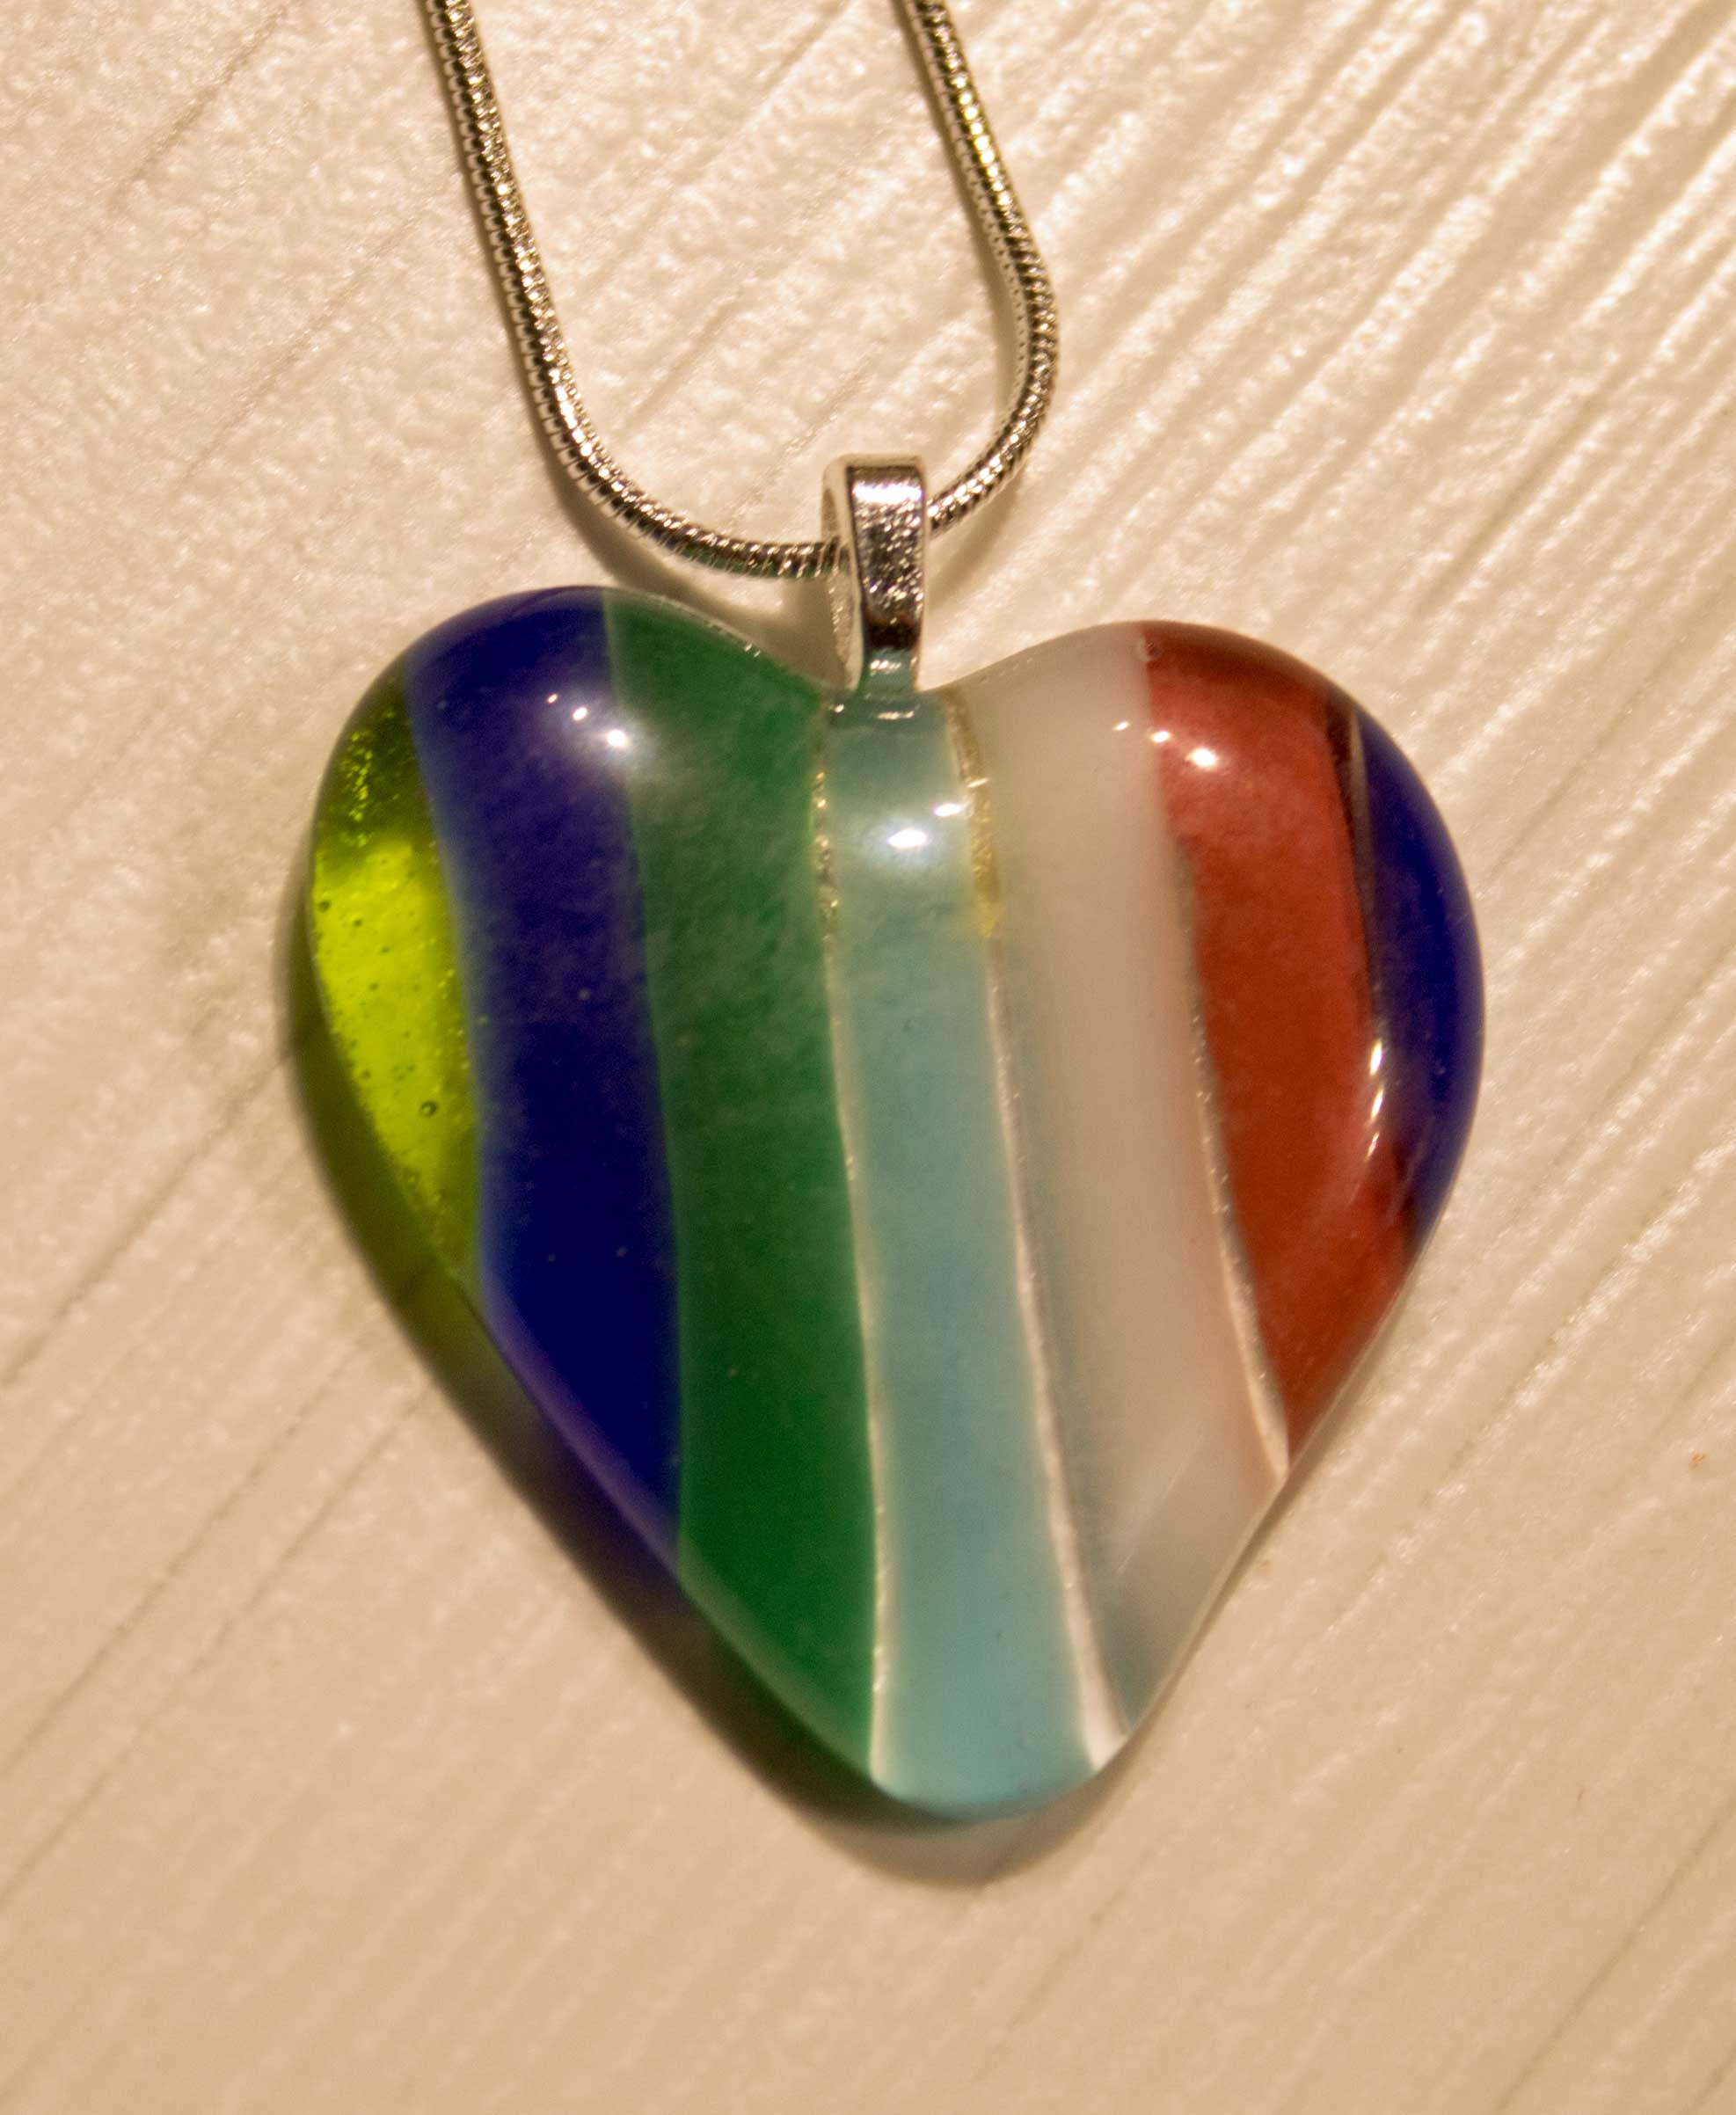
The first stage of the process is to cut a sheet of clear glass from which we'll make several items of Stringer jewellery. Thin rods of glass, known as 'Stringers' are then laid over the clear glass matching colours togther as required. You can see that the heart pendant has a different colour pallette to that in the square pendant. The glass is then treated to a Full Fuse, taking it up to over 800 C, which caused the separate pieces of glass to melt together. We've now got a sheet of stripy glass to play with. The individual pieces are now cut from the stripy sheet and treated to second Full Fuse to finalise the shape. Once the final shapes have cooled, the fittings are glued in place, and then the necklace cords are threaded on.
Alongs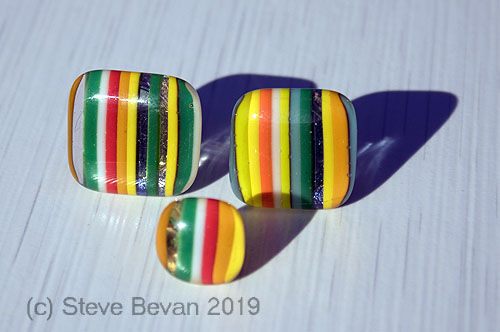 ide the pendants, the Stringers Collection also comprises Cuff-Links and Tie Pins - all made from our very own Stringer Glass Sheets.
Dichroic Glass Pendants
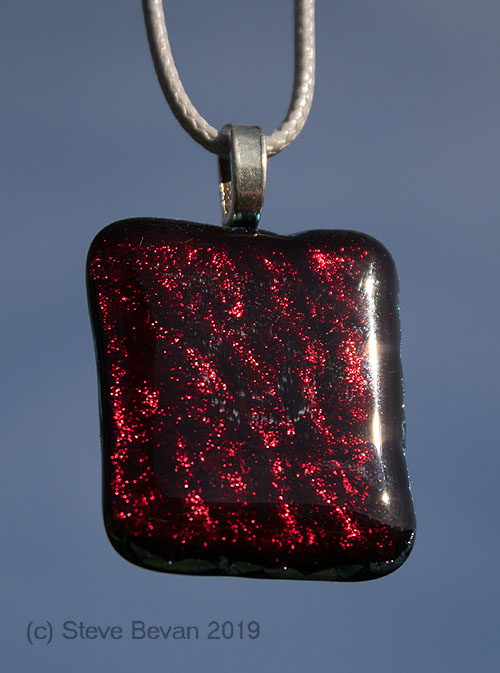
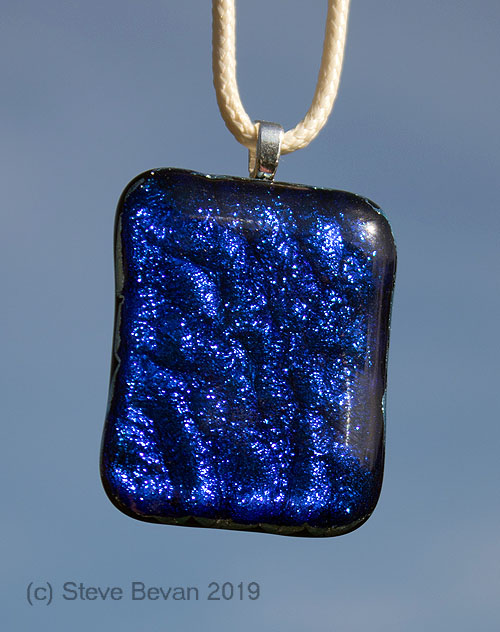
Many of our pendants use Dichroic Glass, which is glass with a very thin layer of metal or mineral applied. They can look very different when viewed from different angles.
Unless stated otherwise, our pendants are all provided on an waxed cotton cord which is 18 inches in length, with a 2 inch extender chain. We can swap this for a Stainless Steel chain for a small additional charge.
Due to the way in which glass moves when heated, and because all pieces are hand cut, each of our pieces are unique.
